We use cookies to make your experience better. To comply with the new e-Privacy directive, we need to ask for your consent to set the cookies. Learn more.
Website Instructions
Step 1.)
Log in / Sign Up
Making an account with Alphasource will allow you to submit quotes and orders at any time or place. You can do this by scrolling down on the home page to the "Log In / Order History" Section or click on the profile icon in the top right hand corner. You will be propmpted to log in or sign up.

Step 2.)
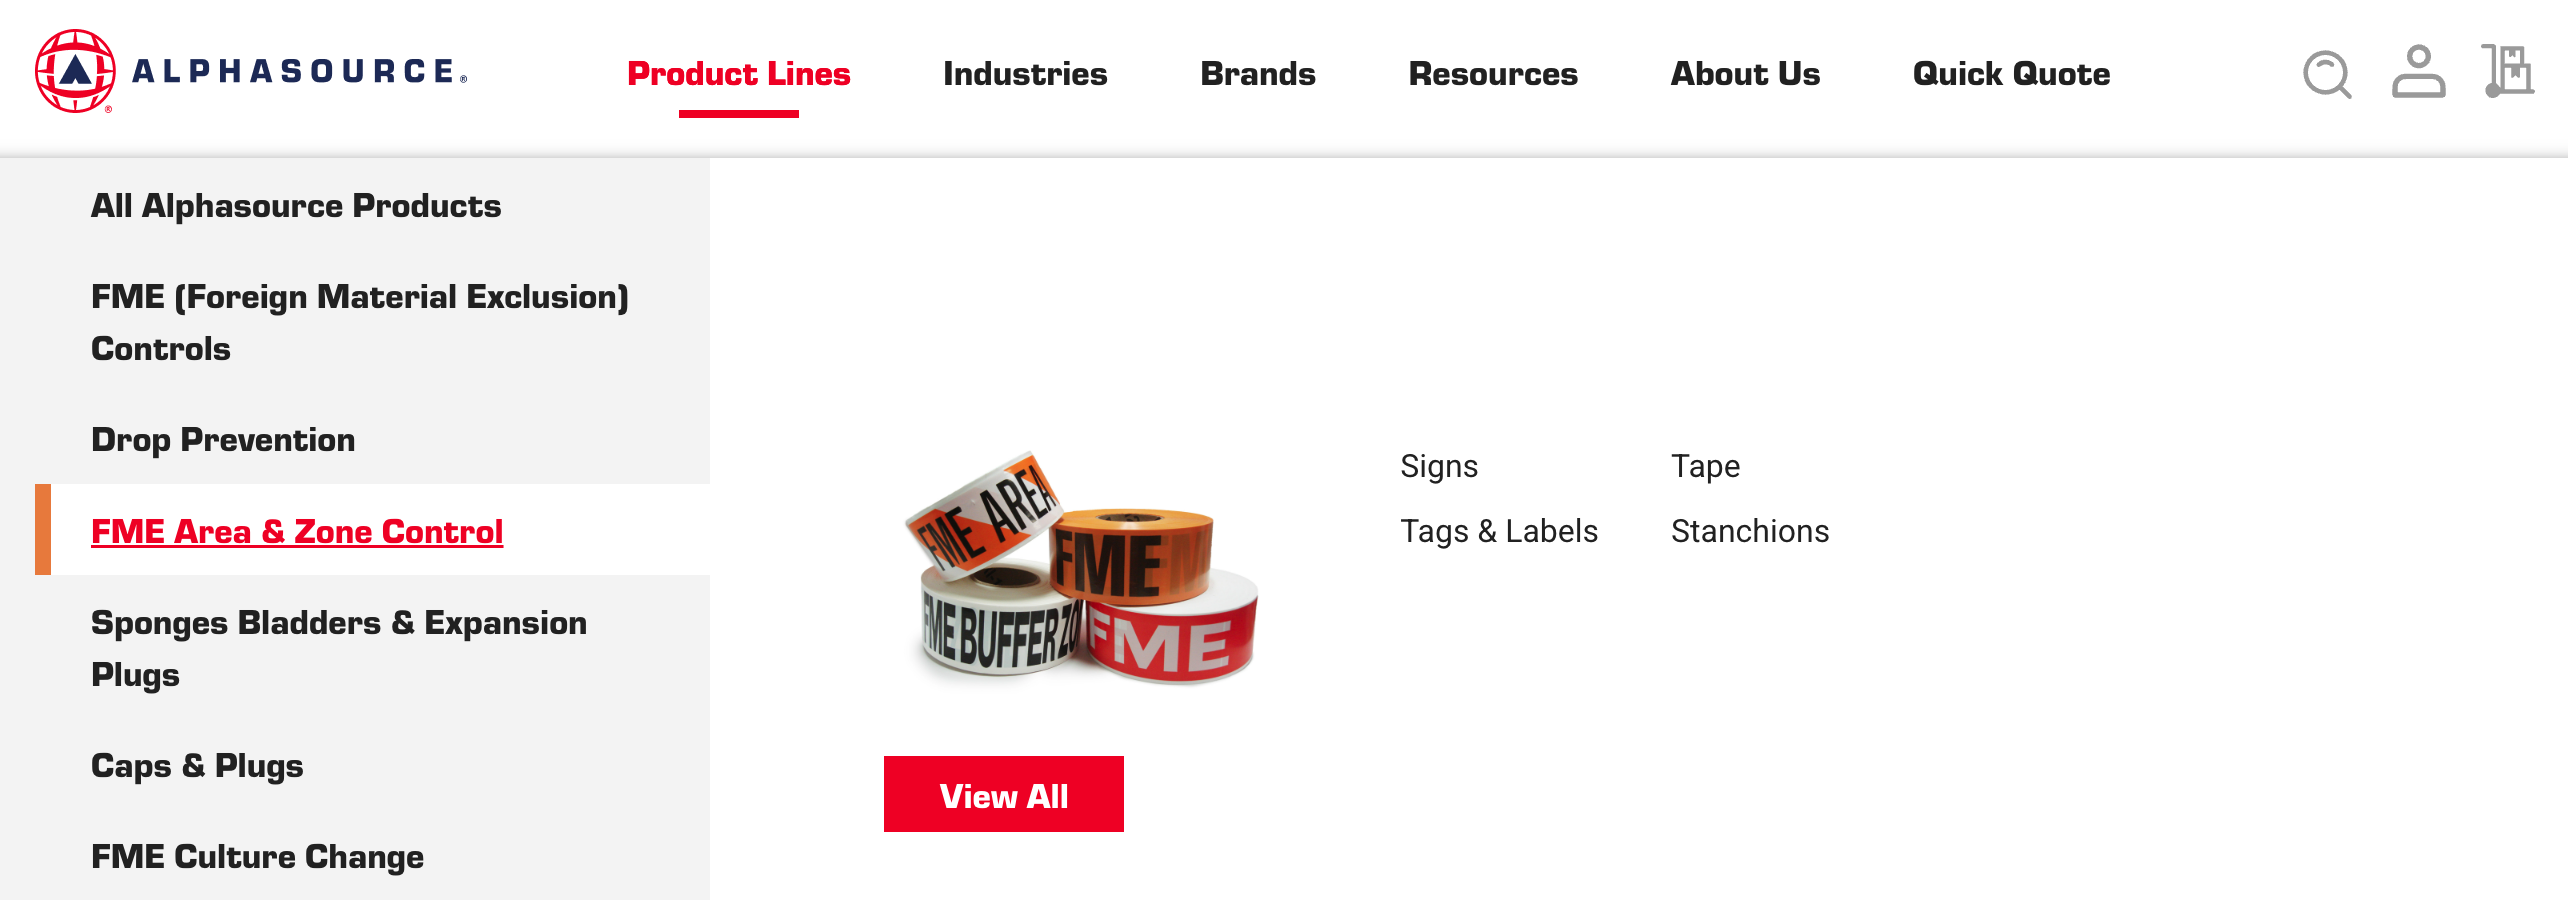
Shop
Navigate our vast product catalog the site using the mega menu or search bar to find products you would be interested in getting a quote for.
Step 3.)
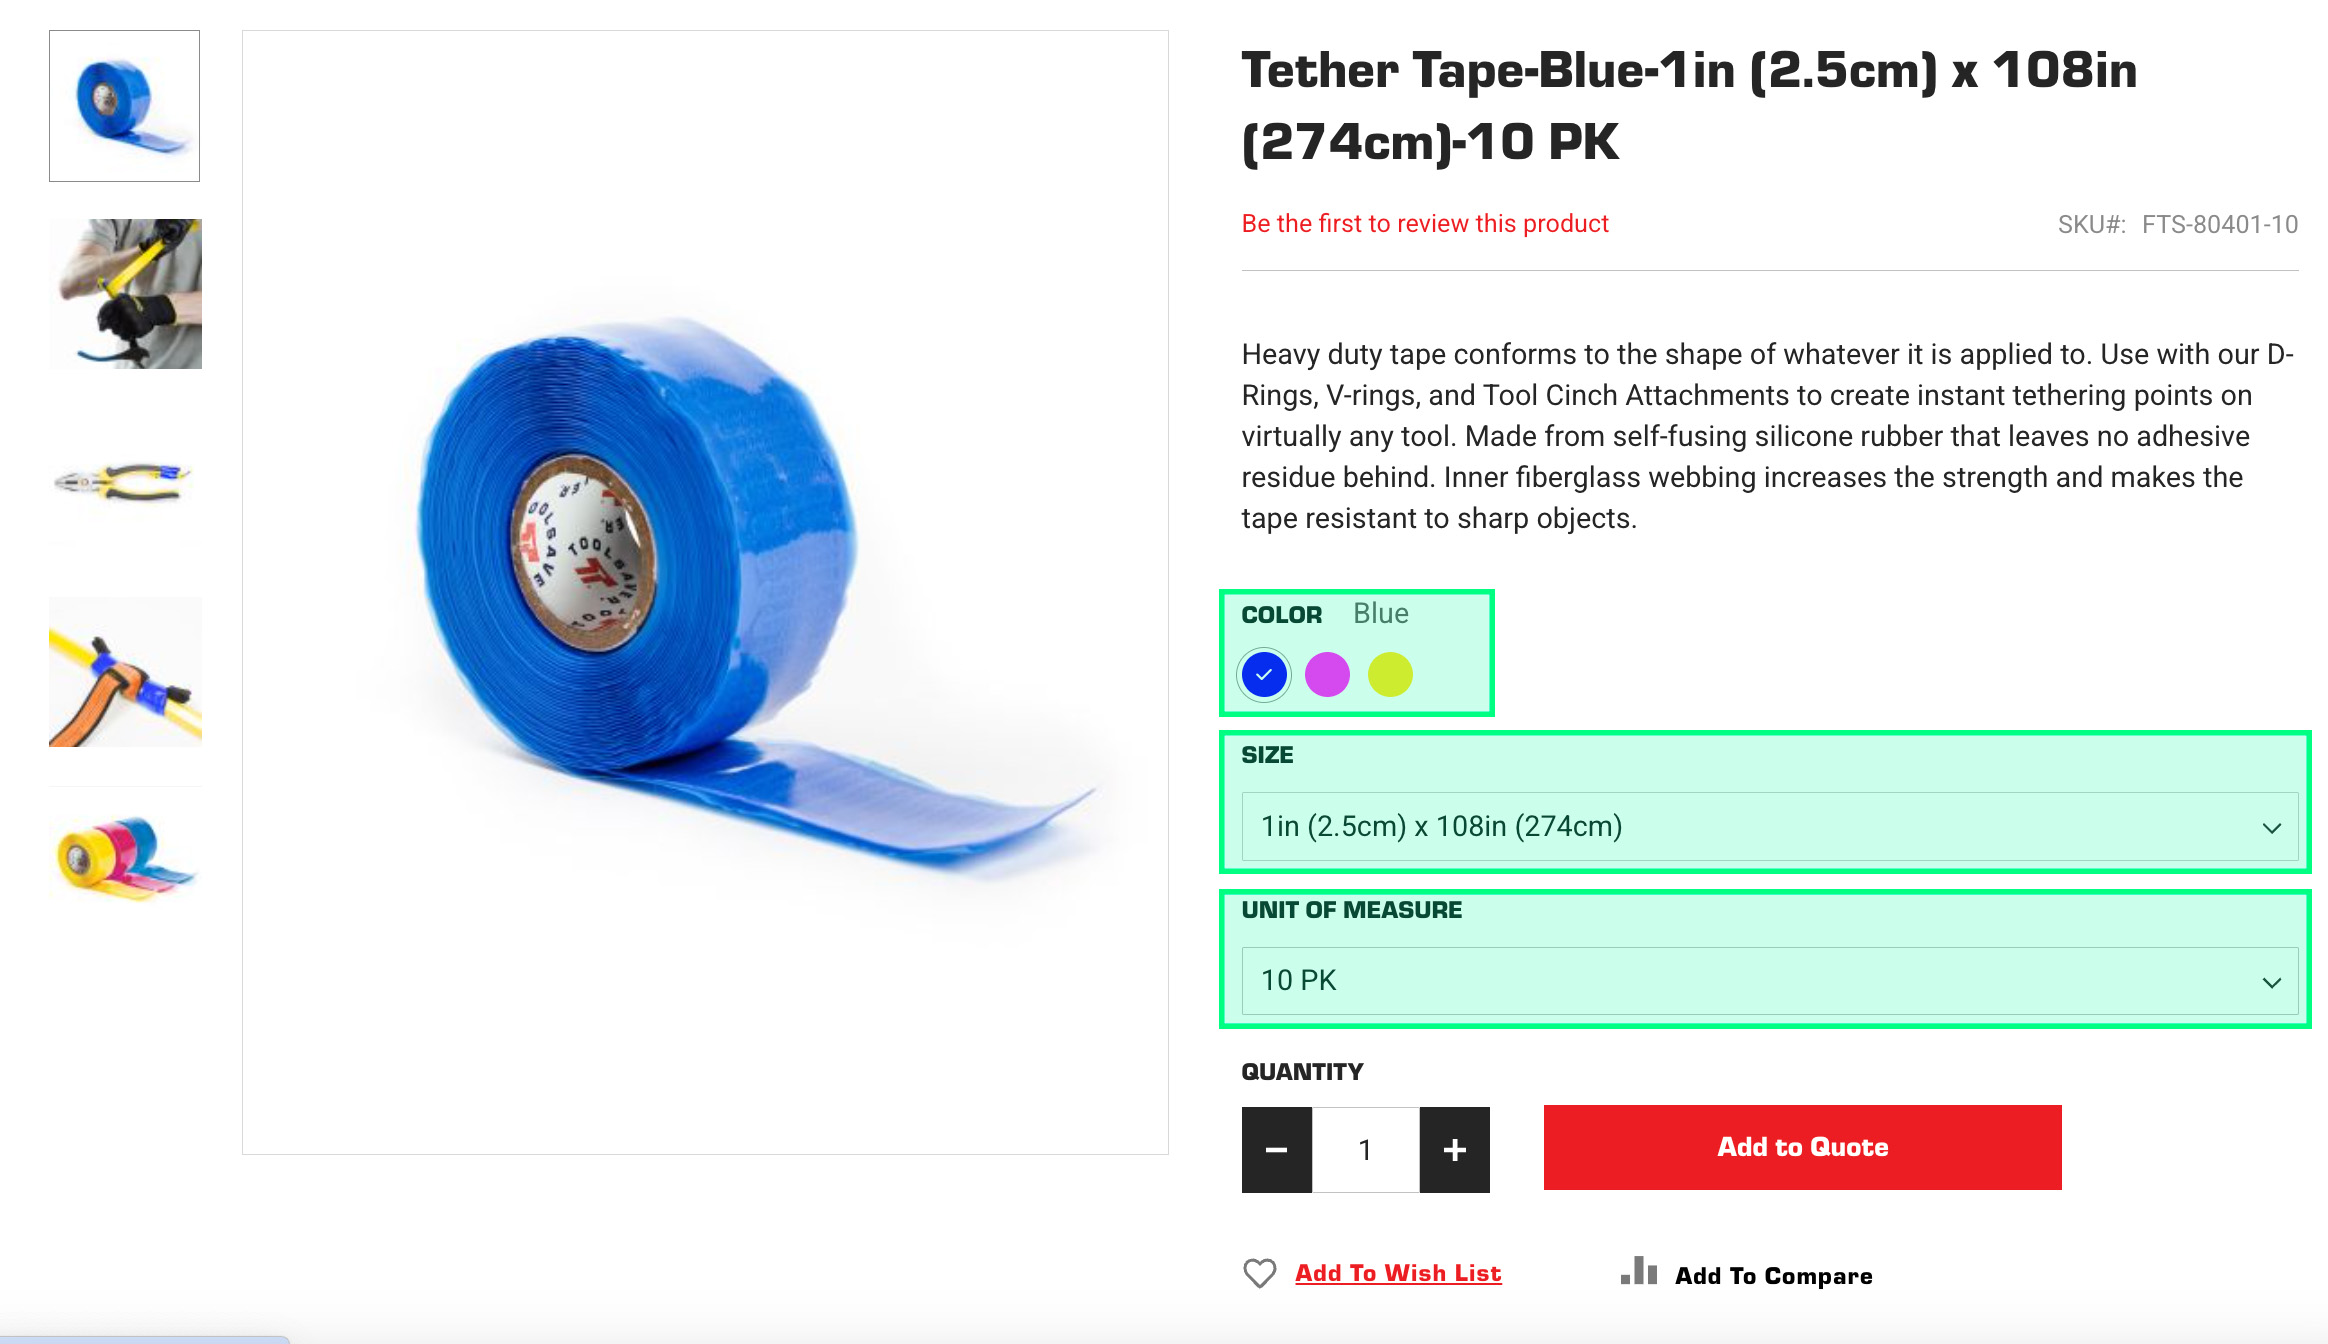
Configuring Products
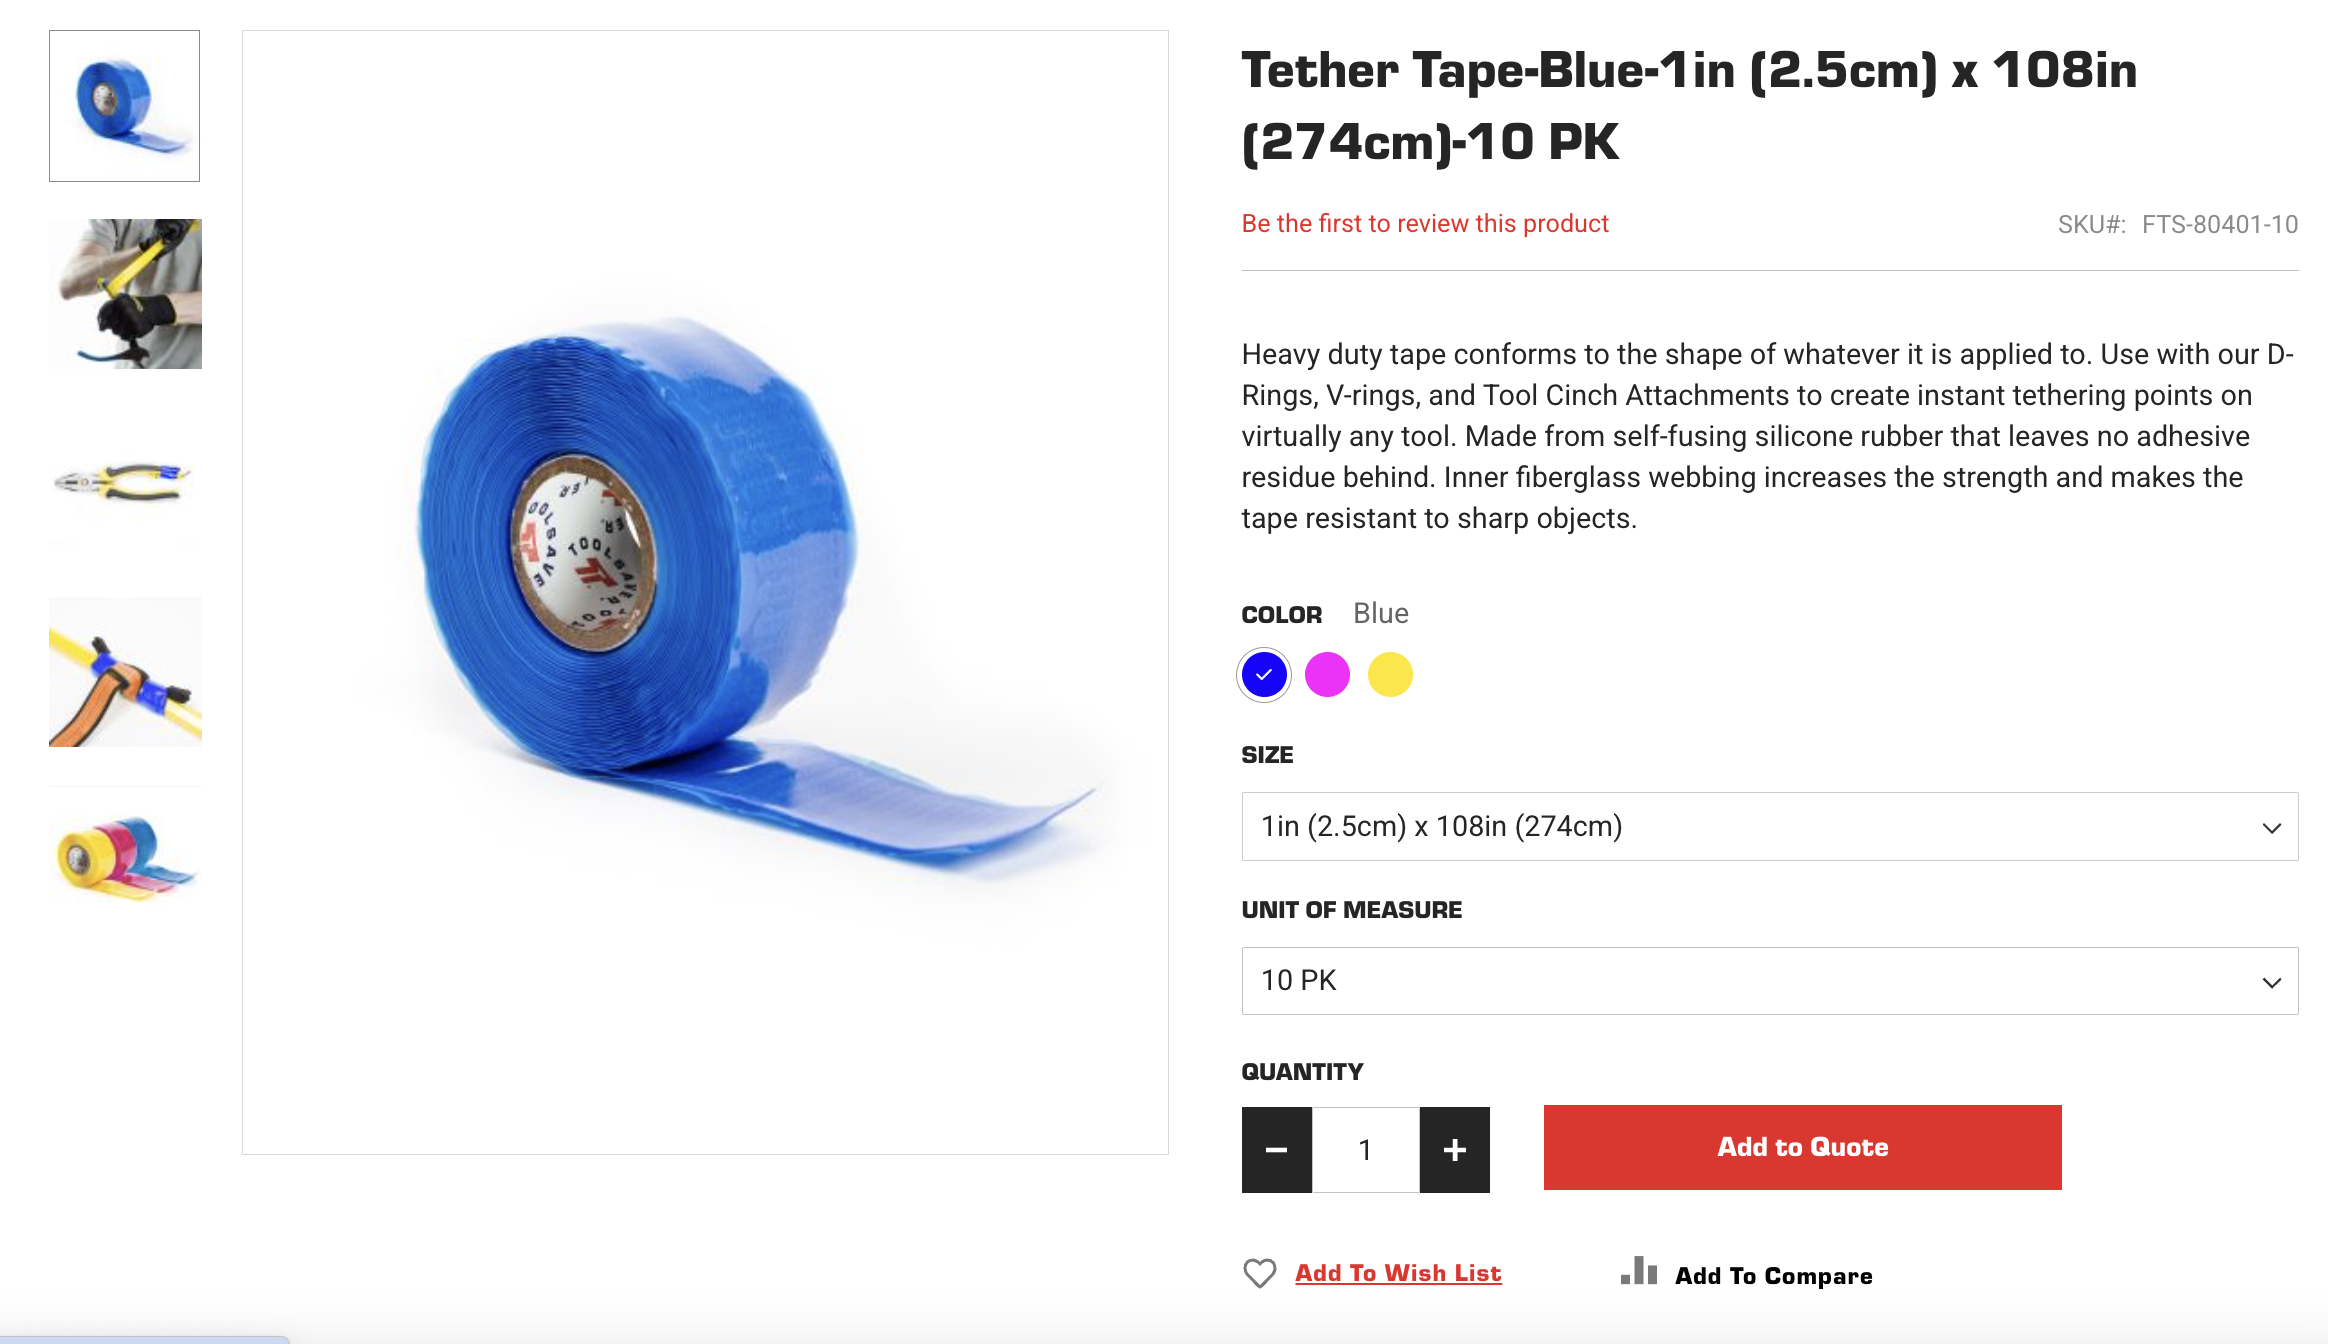
On the individual product pages, you will be prompted to fill out the specifications of the individual product. (Highlighted in Green)
Once you've filled given the prefered specificaitons, and quantity, you can press the "Add to Quote" button.
Step 4.)
View your Quote
Once you've added the products you want, you can head back to the "My Wish Lists" Tab in your account dashboard. Click on the wish list you want to share. Click on the "Share List" button.
Step 5.)
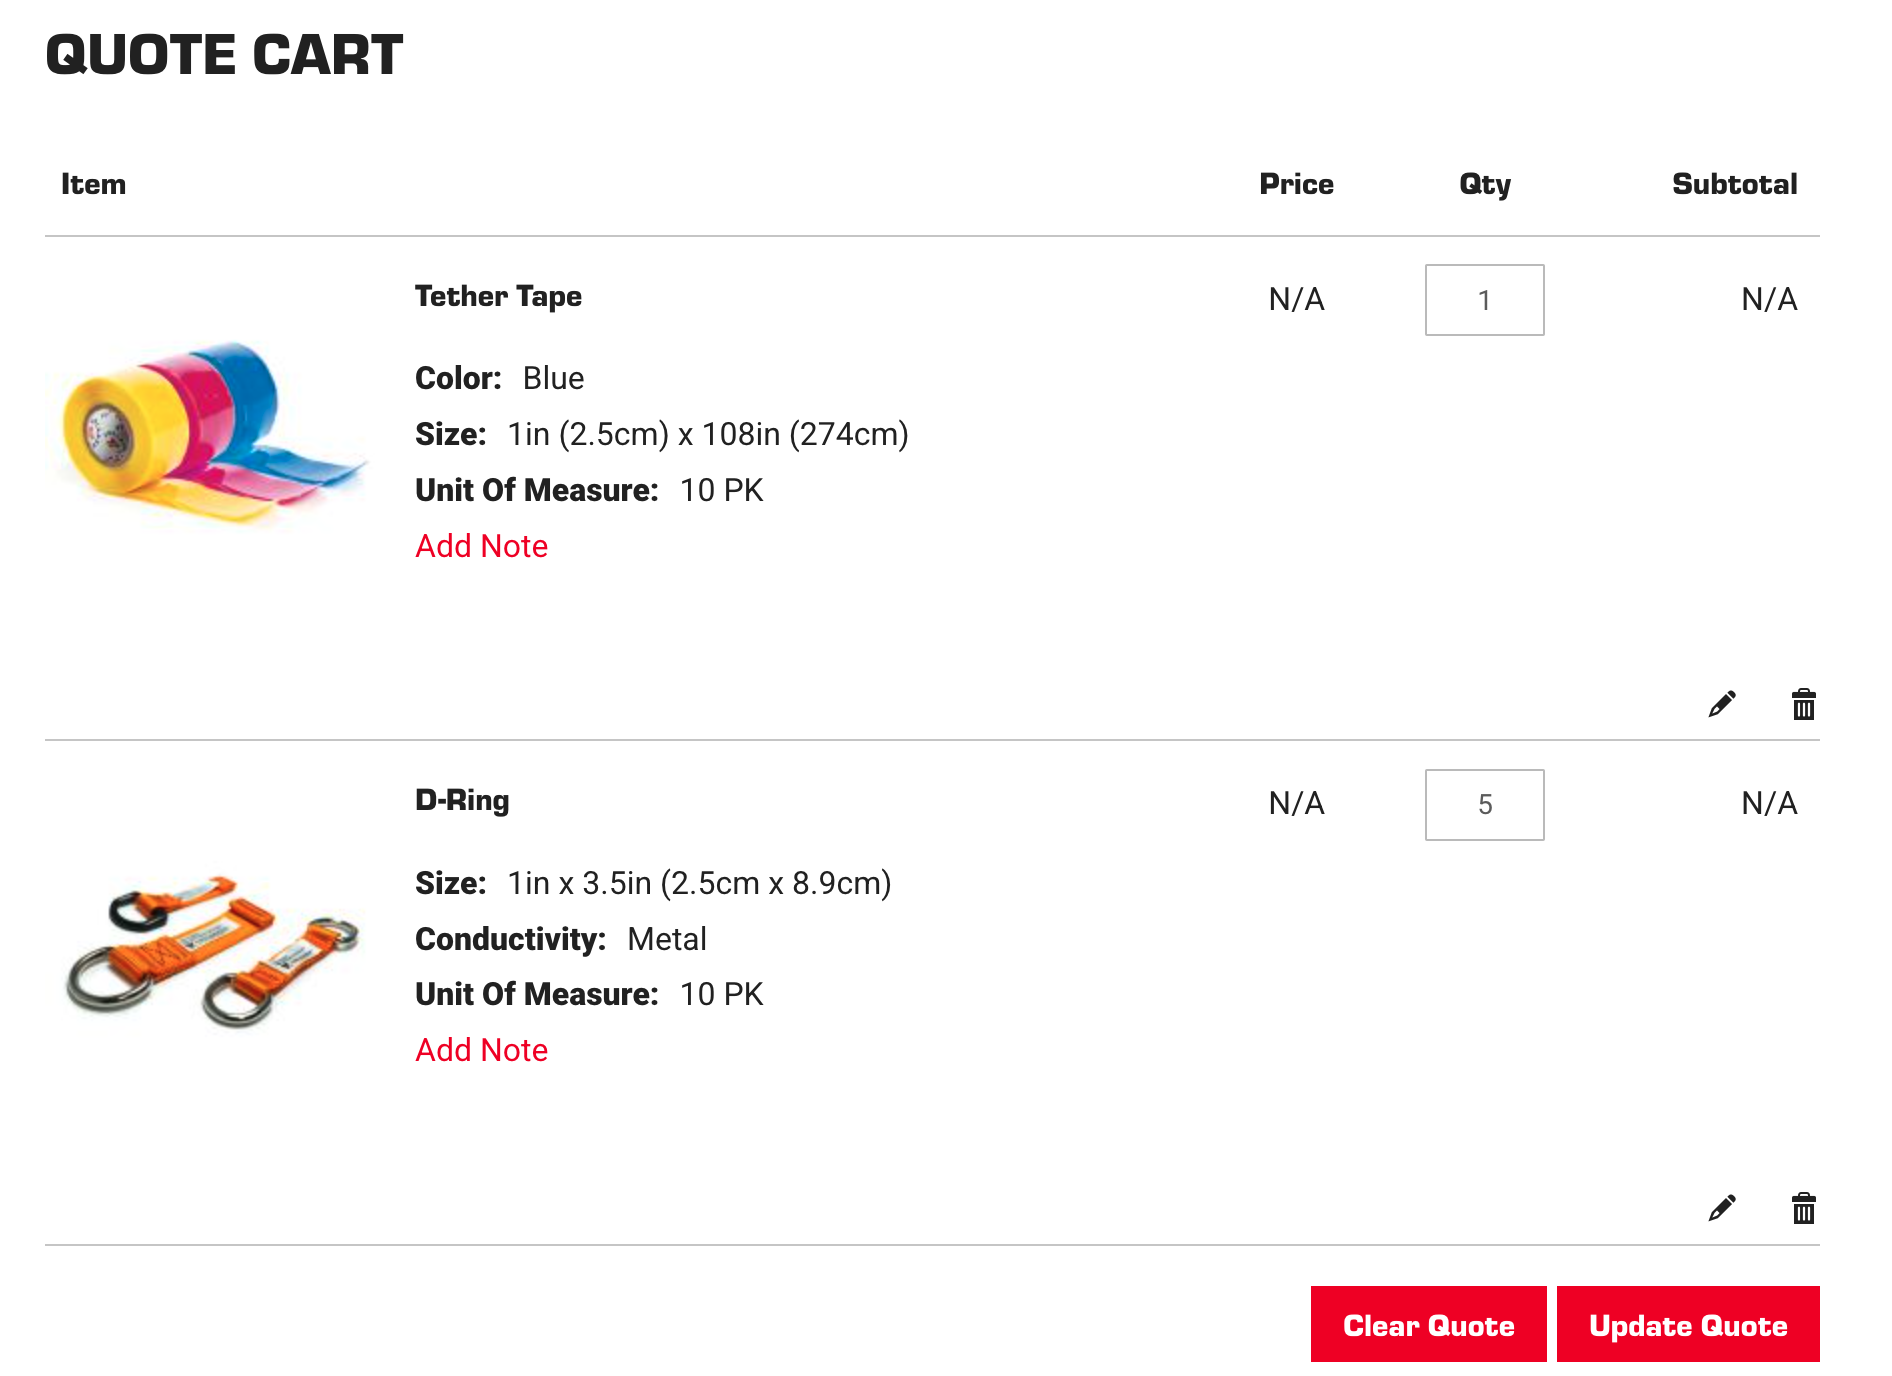
Review and Edit Quote Cart
The contents of the quote cart can be viewed and edited here.
- Edit quantities by changing the number under "QTY"
- Edit Specifications by clicking the pencil icon in the bottom right corner of each module
- Add notes if you have any specific remarks Alphasource should know about what you need
Step 6.)
Submit Quote
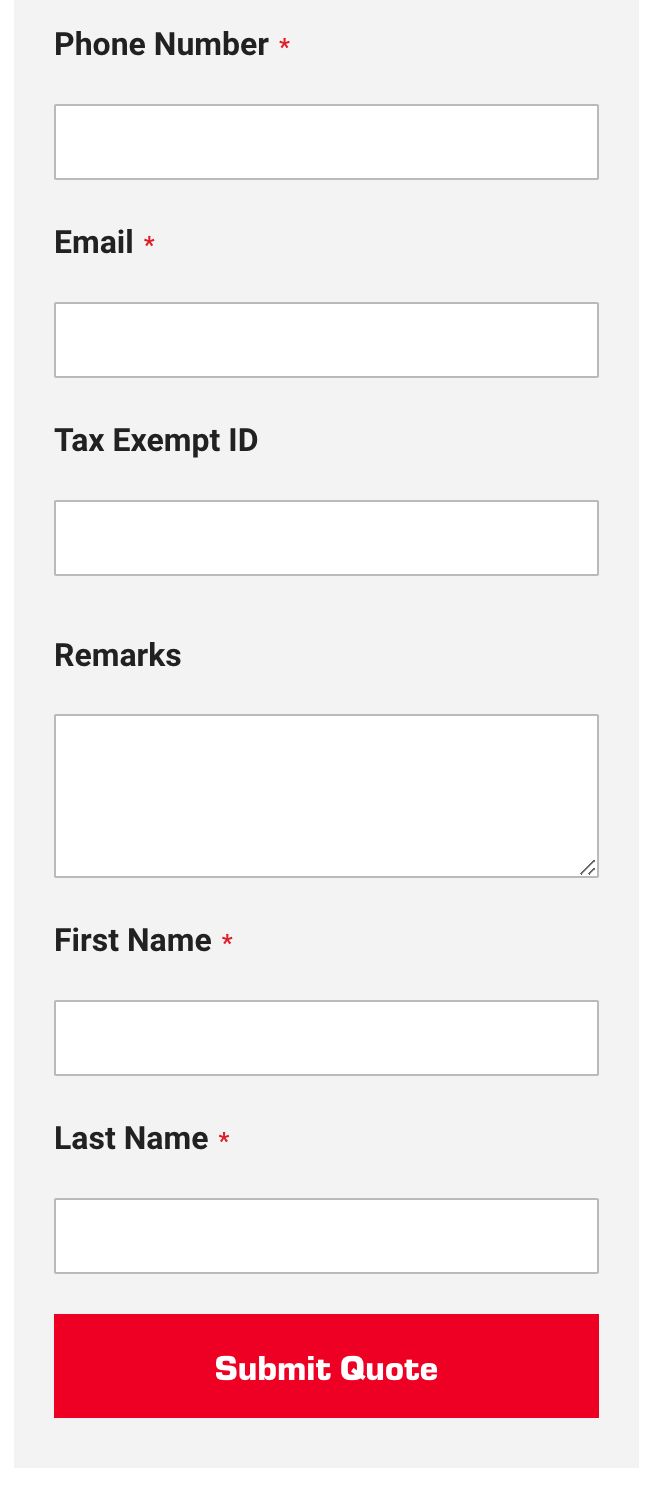
To the right of the quote cart. You're going to fill out the form with information that will help Alphasource accurately quote your products and shipping. Then press "Submit Quote" at the bottom of the form.
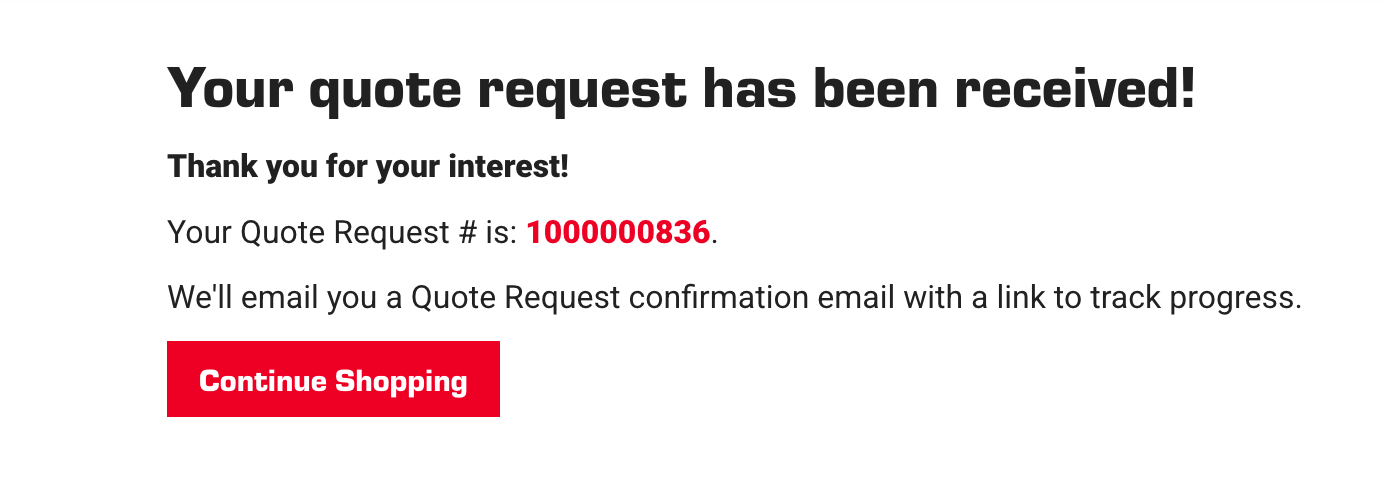
You will receive a "Quote Request #" along with an email confirmation that your quote has been submitted and will be processed by an Alphasource representative.
Step 7.)
Turning Processed Quote into Order
Once the quote has been processed internally you will receive an email that it has turned into an order you can review and pay for.
Go to your Dashboard and click on the "My Quotes" Tab on the right. This is where you can see the status of all the quotes you have submitted. The ones that carry the "Approved" status, are ready to be turned into an order.
- Click the "View" button to see an itemized price list.
- Click the "Move to Cart Button" to convert the quote into an order.
- Then click the "My Cart" Icon, in the top right corner, to proceed with checkout

Step 8.)
Check out
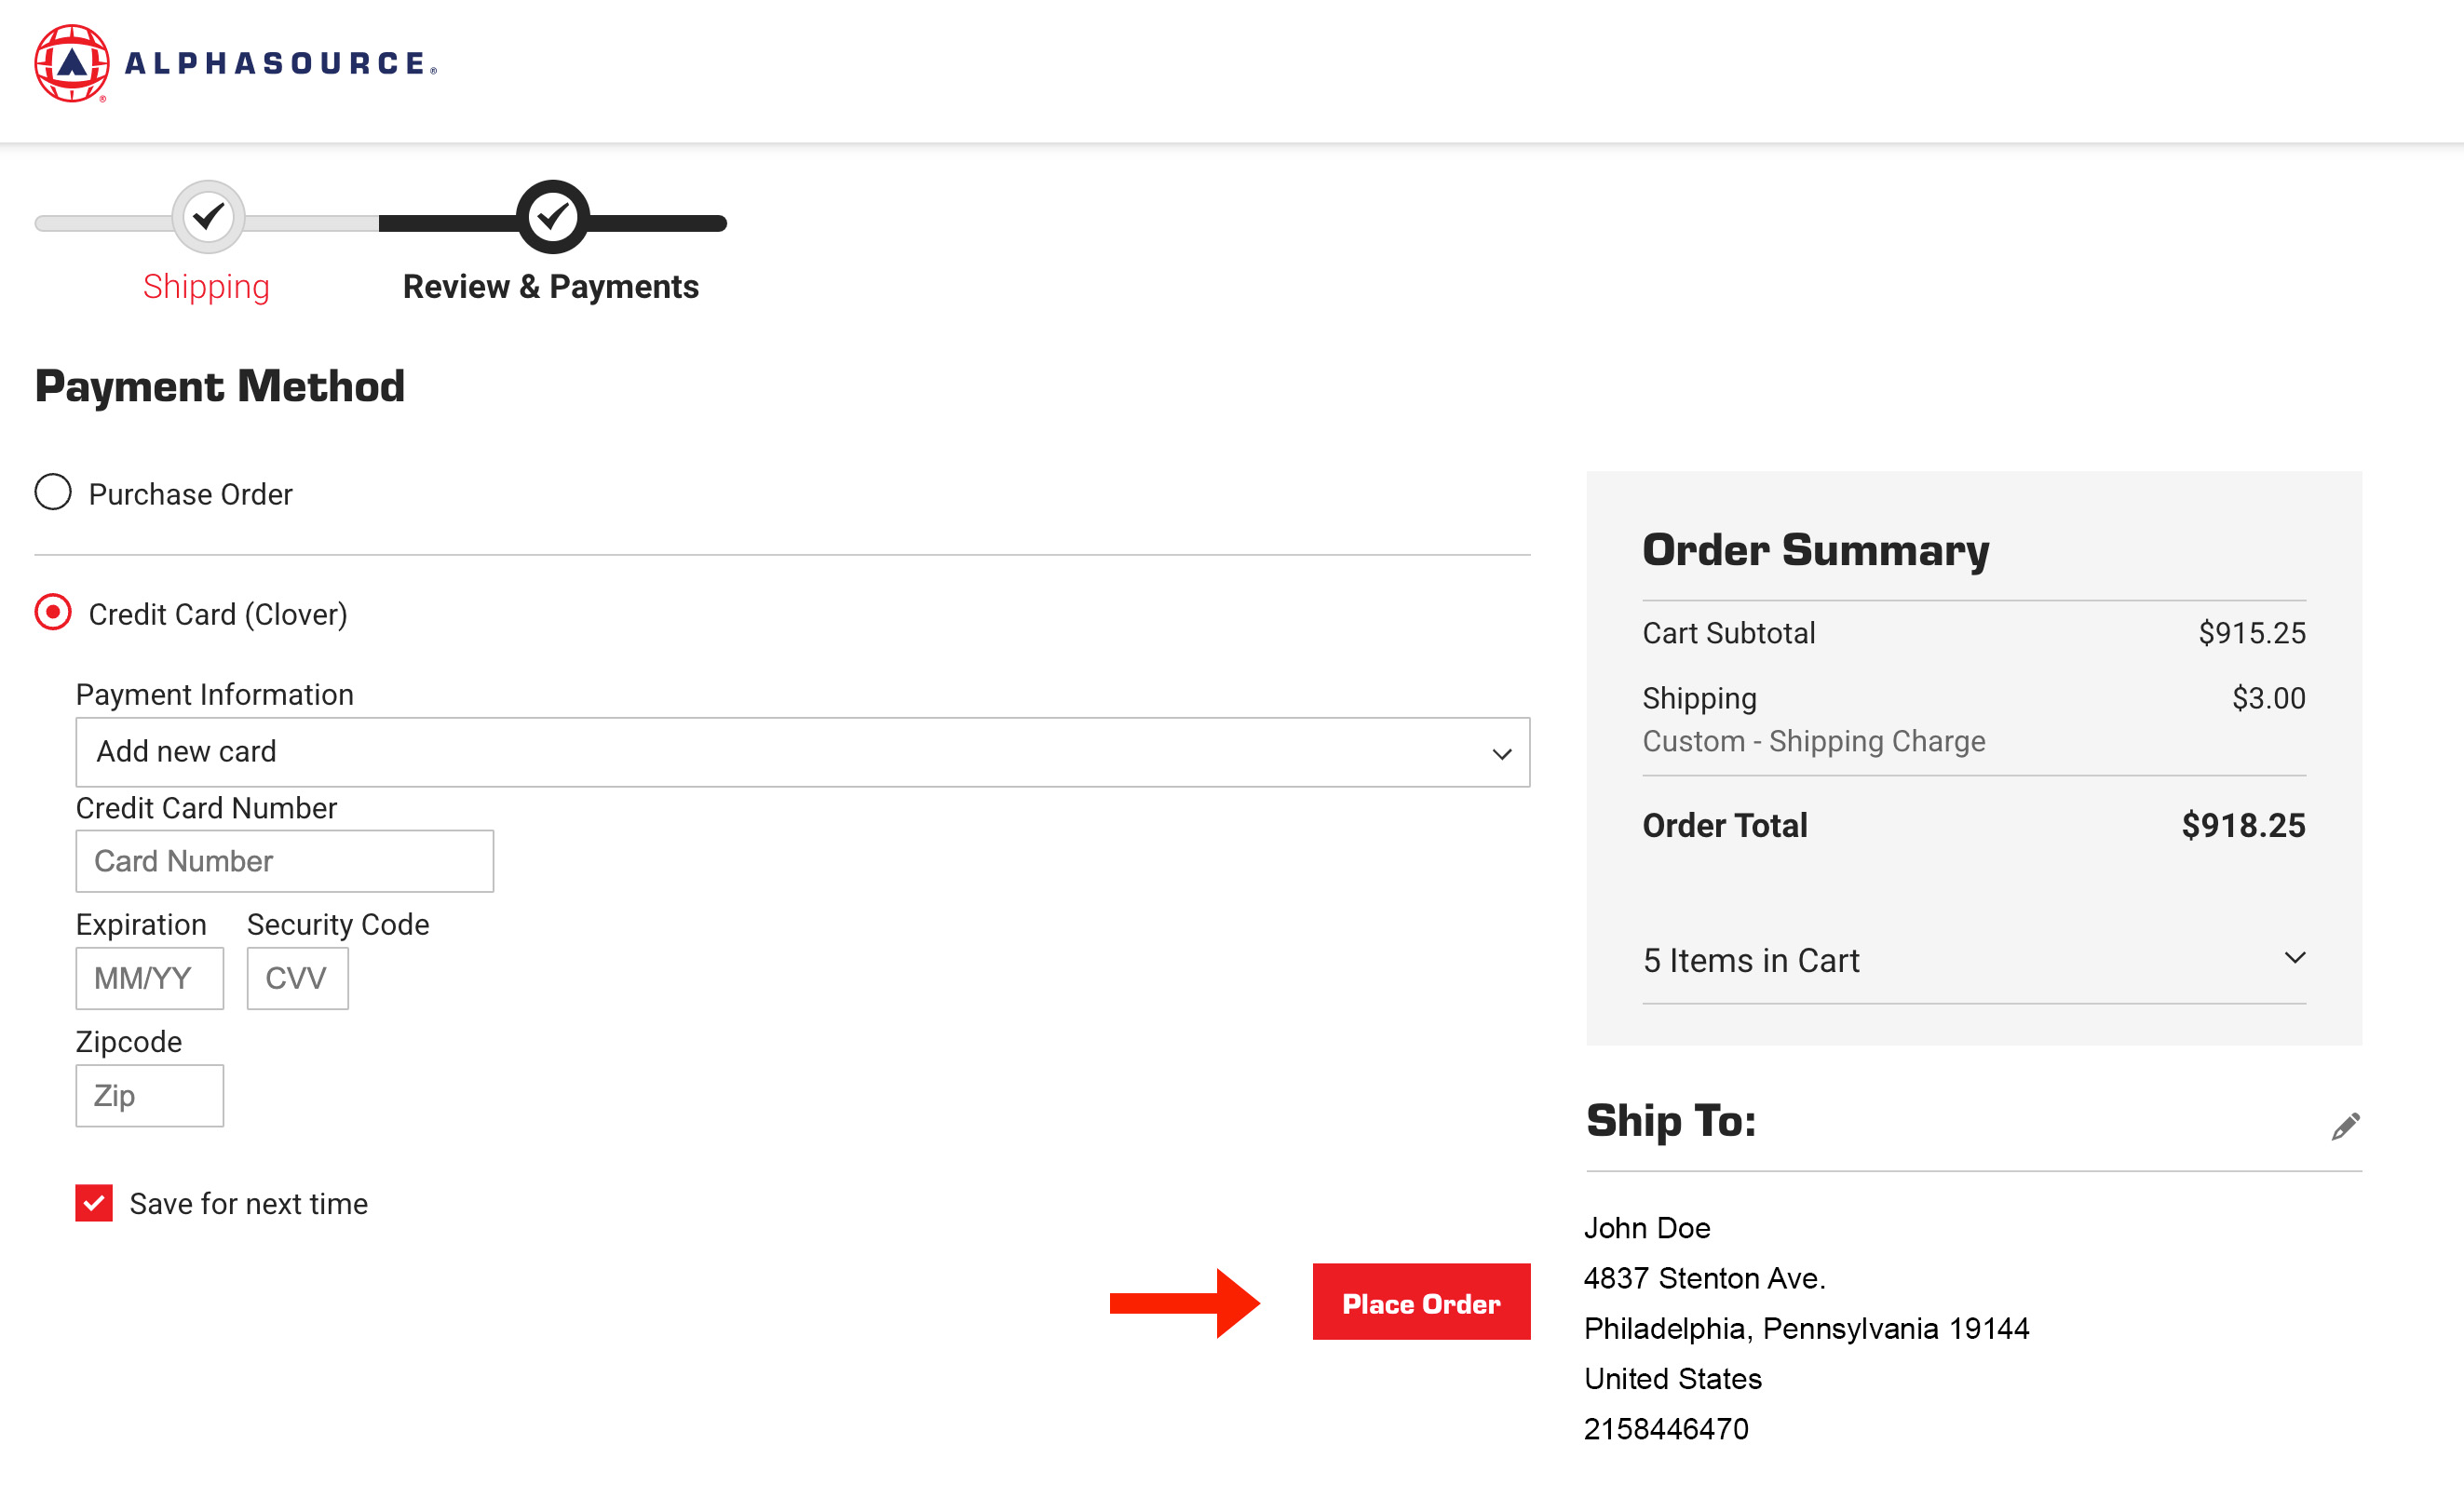
Once you've clicked on "My Cart" Icon, You will just confirm the shipping. If the shipping is incorrect, please contact a representative at Alphasource (215)-844-6470. We will quote the shipping for your new address.
Then you'll provide payment information and press "Place Order". A confirmaion of your purchase will be emailed to you and Alphasource will provide a tracking number for the shipment.
Step 1.)
Log in / Sign Up
Scroll down on the home page to the "Log In / Order History" Section or click on the profile icon in the top right hand corner. You will be propmpted to log in or sign up.
Step 2.)
Creating Company Account
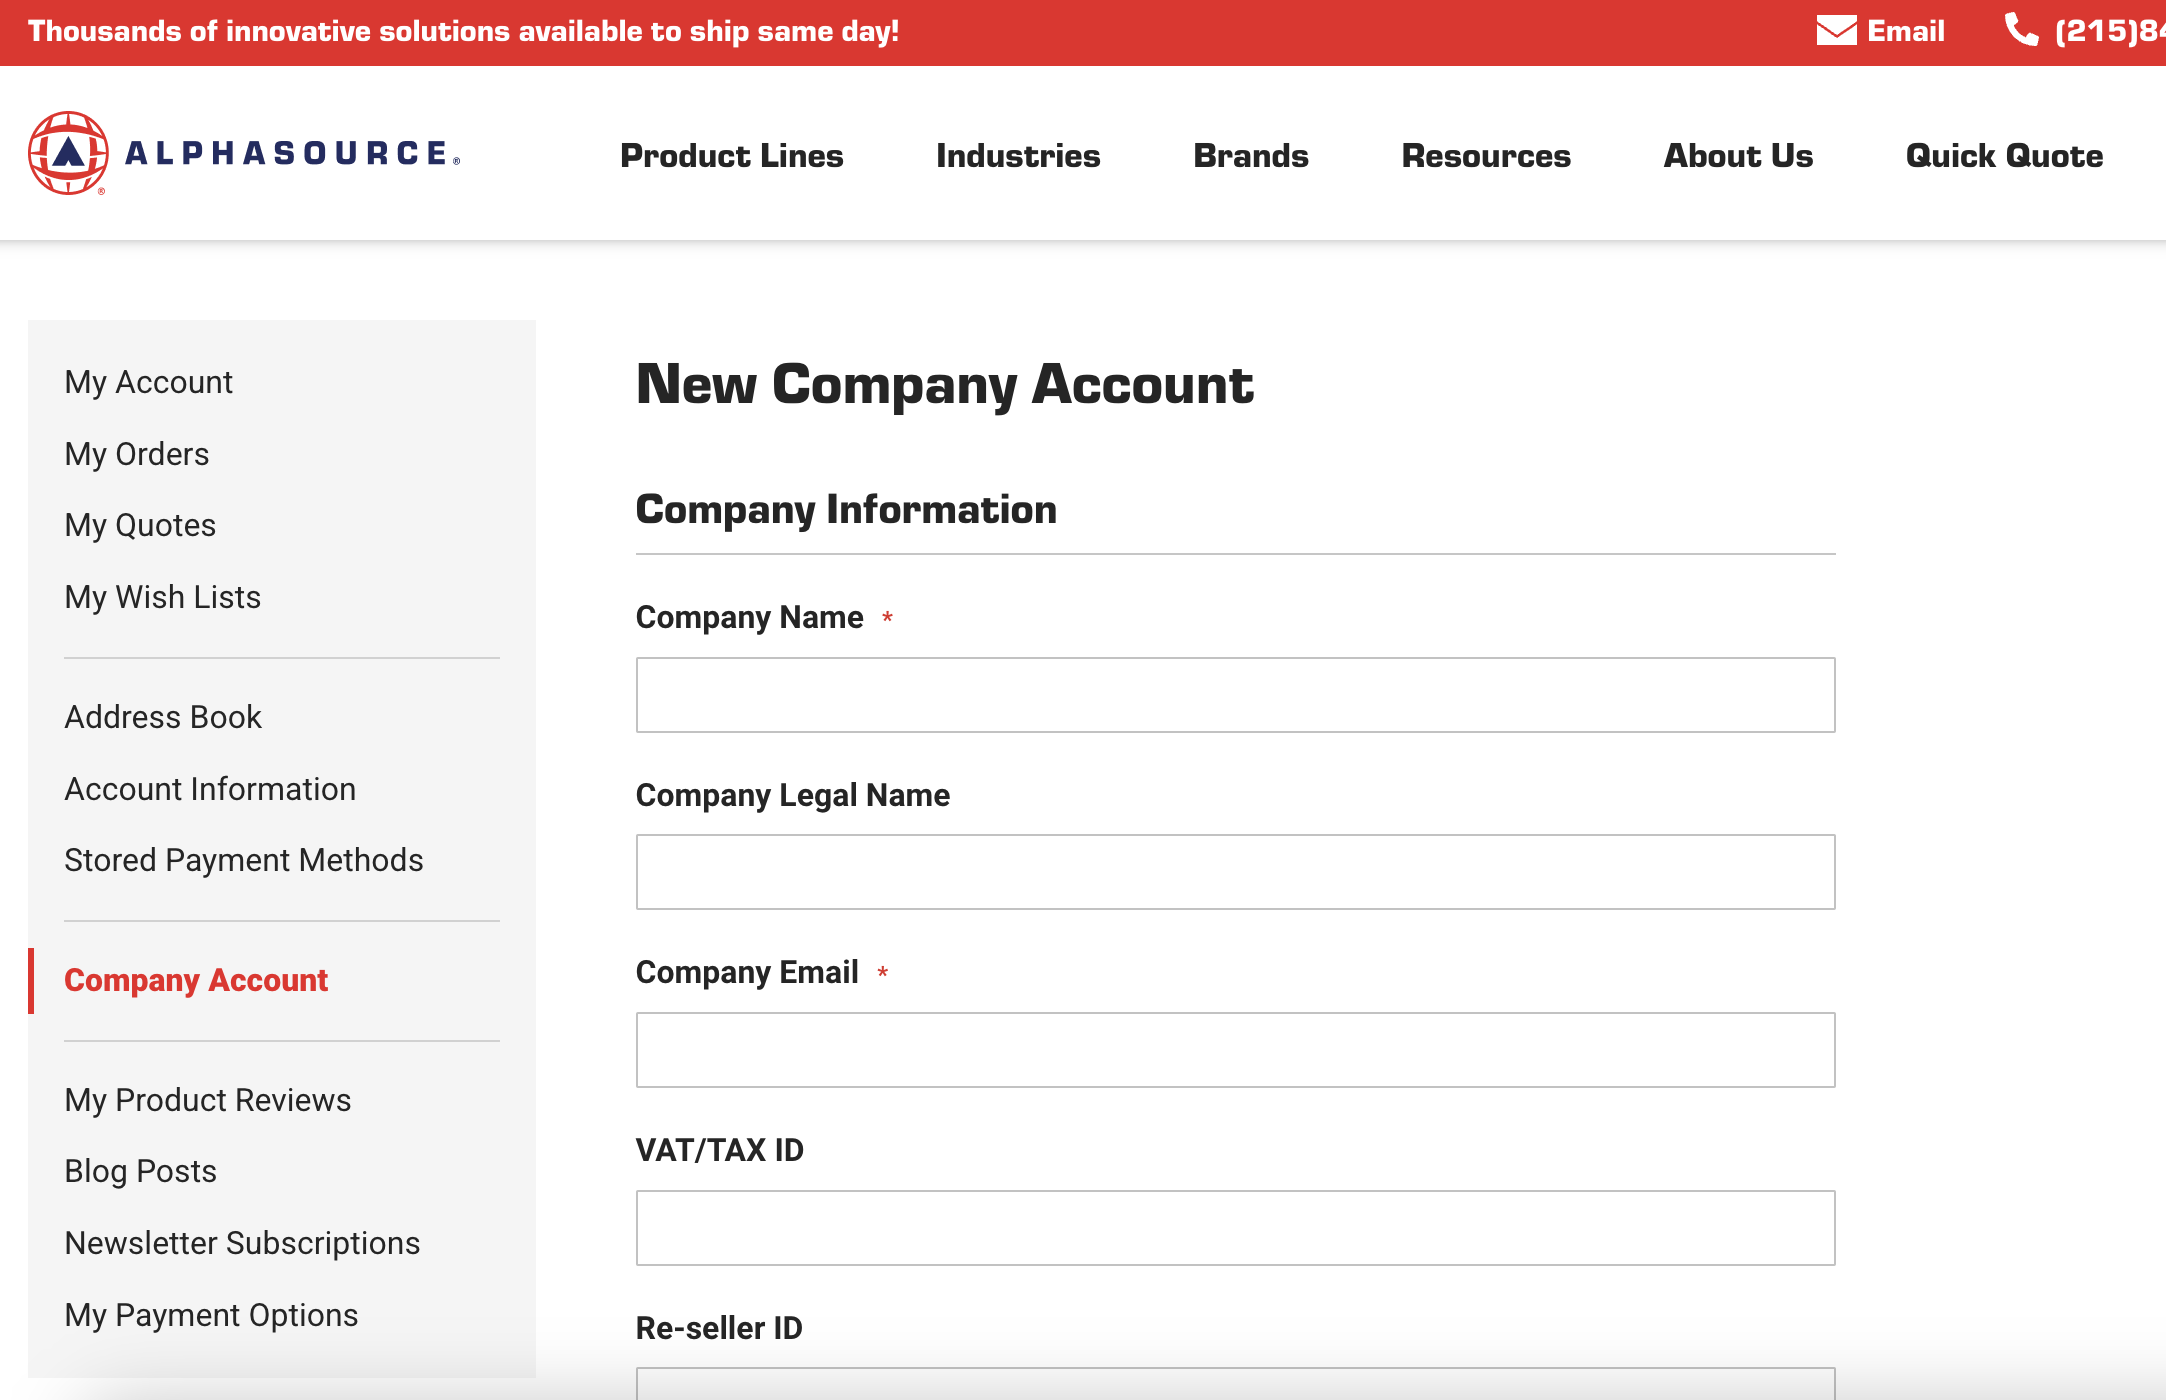
Once you've signed in, you're going to go to the account dashboard by clicking the profile icon in the top right corner. Navigate to the "Company Account" tab. Click "Create". Please fill out the form to the best of your ability.
*When adding the "Company Name", please try to specify what site you are located in. Keep in mind that other areas of your company may also order from Alphasource so ensuring different departments are distinguished will help reduce any miscommunication.
Once you fill out the form, it will be sent to Alphasource to approve the company account proposal. If everything checks out, It will be approved shortly.
Step 3.)
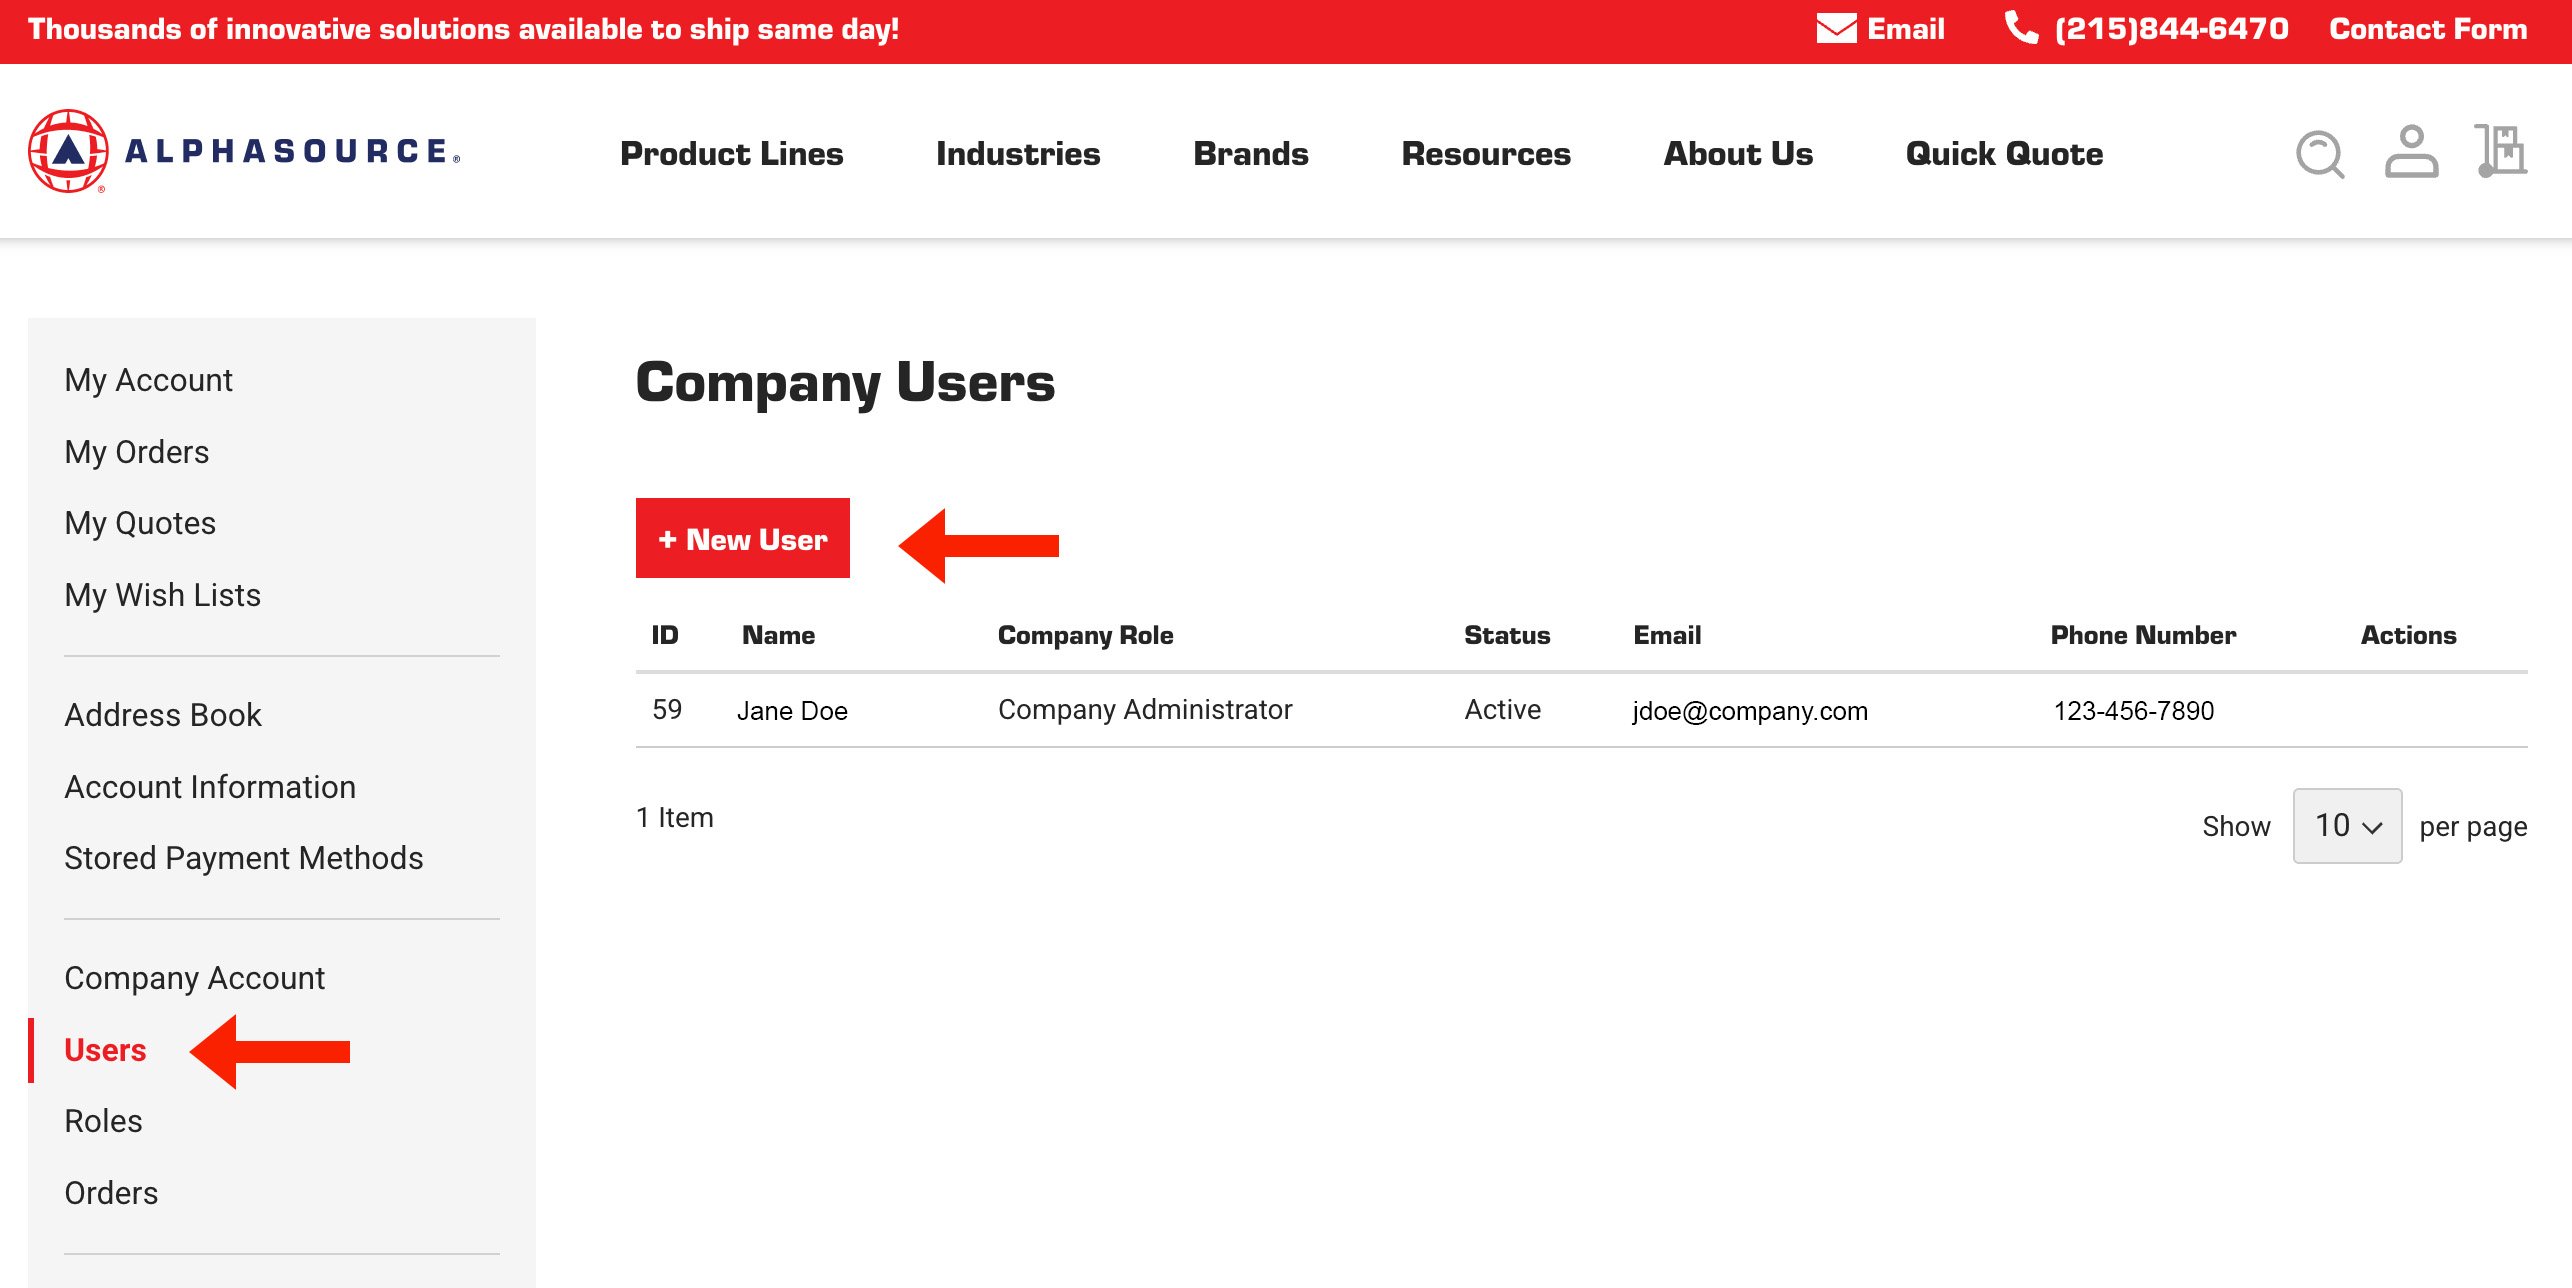
Creating New Users
Once the company approved, you can add colleagues as users to the company account. This is a great way to keep track of all the orders made within your company.
Some new tabs will appear under the "Company Account" Tab. Click on the "Users" tab, Then click on "New User". Fill out the form with the desired colleagues information and press "Submit". Doing this will send an email to the colleague to allowing them set their own password and have a user account under the company.
Step 4.)
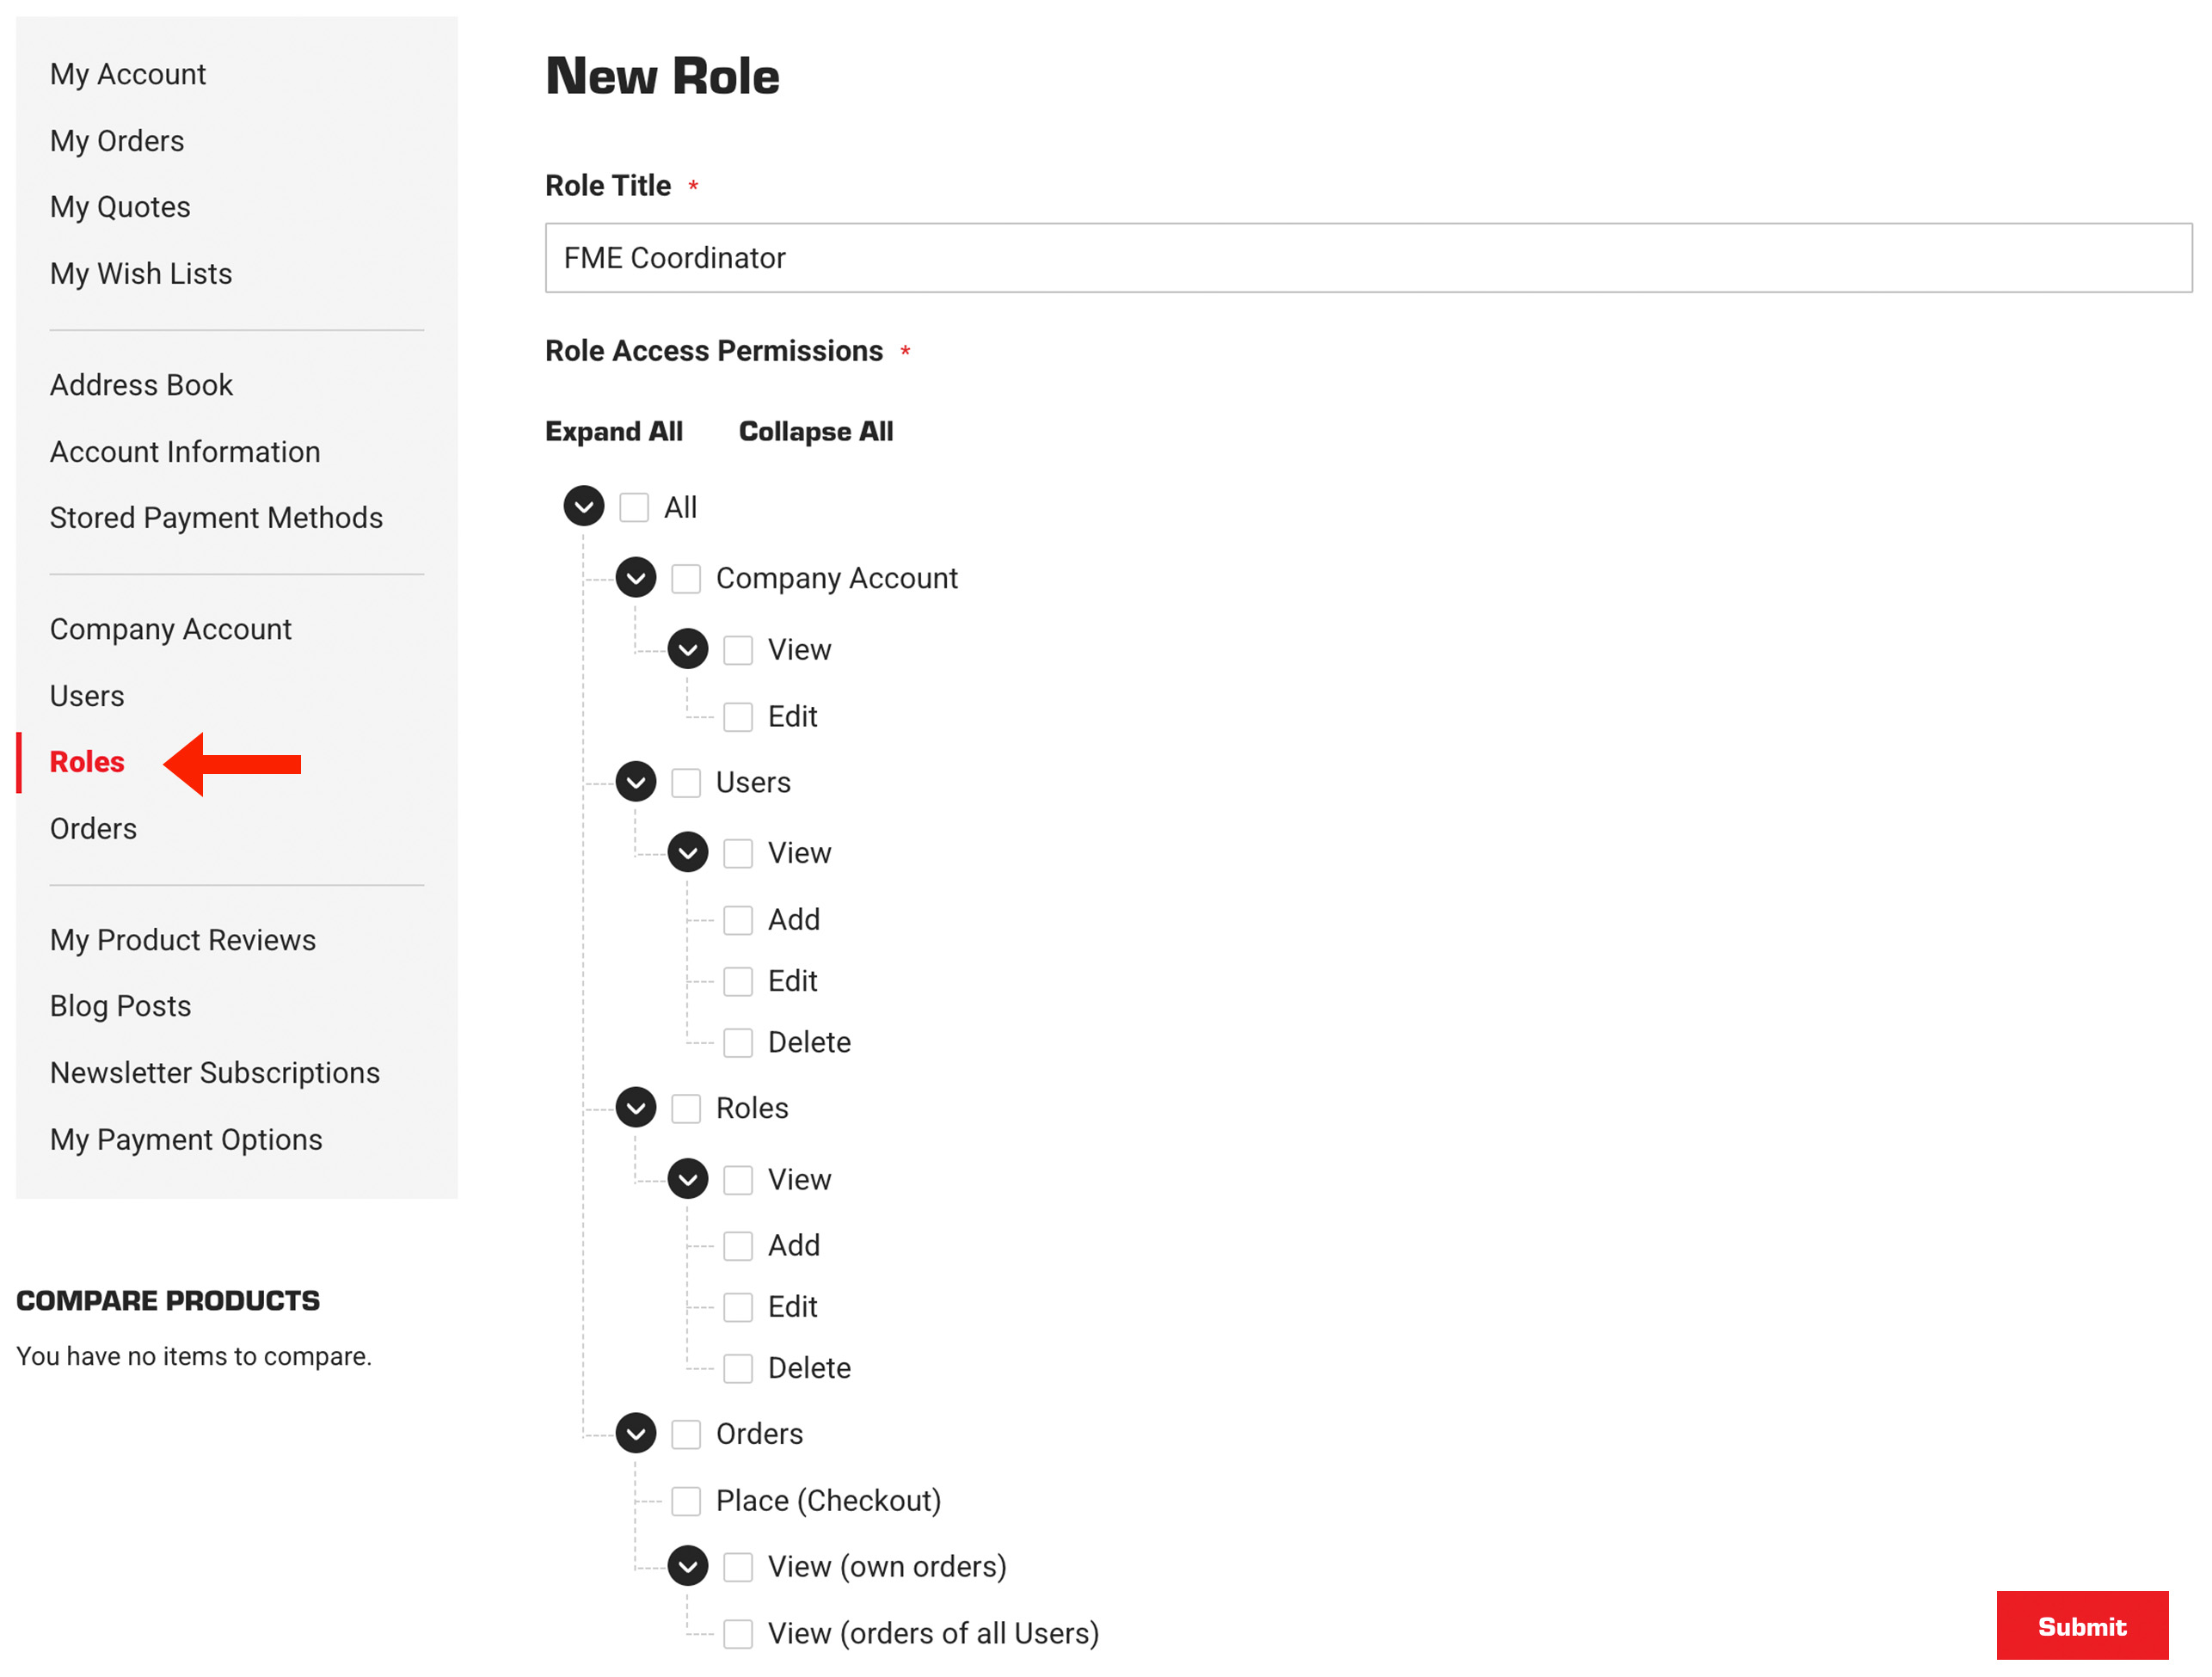
Create and Assign User Roles.
Roles can be used to grant or restrict permission of a user under the company account. To create a new role first click on the "Roles" tab in your dashboard. Then click "+New Role". Here you will be able to give the role a name and select what the user can or cant do.
Step 1.)
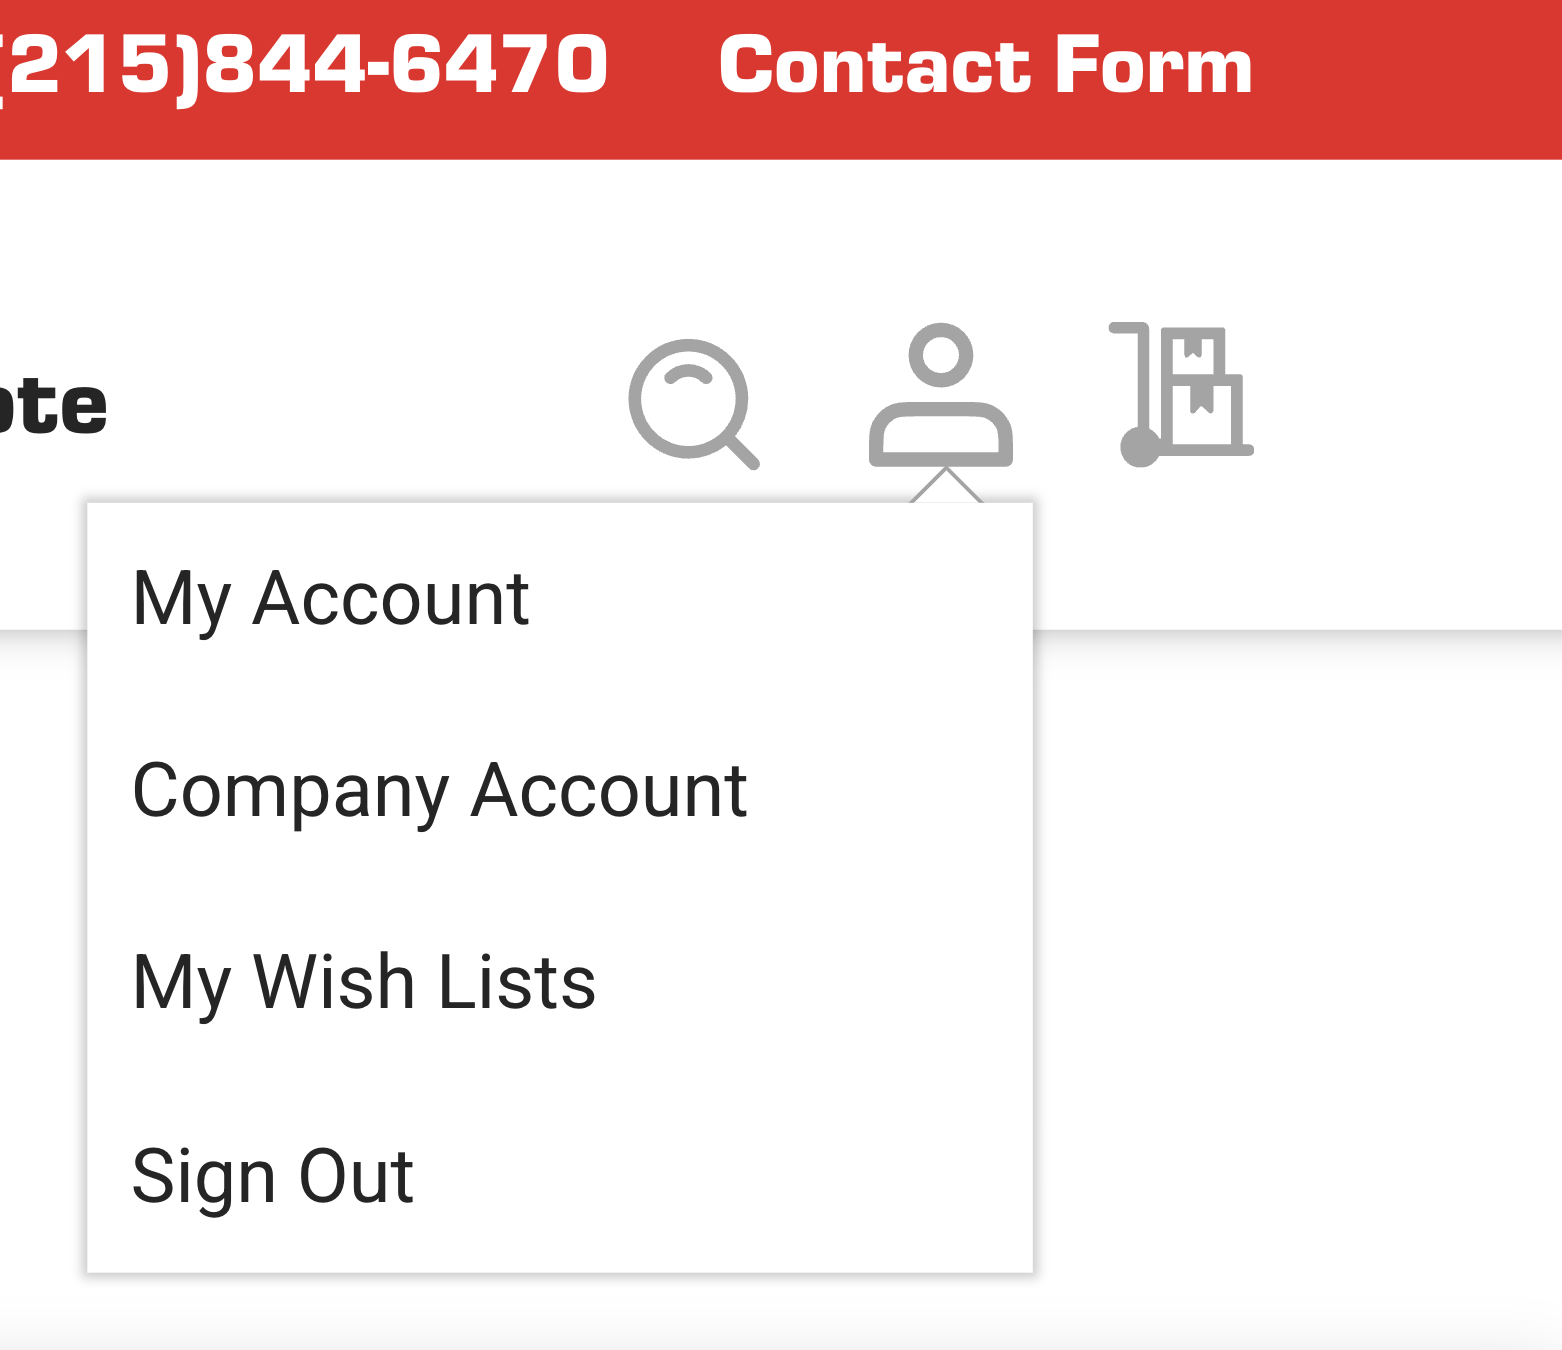
Signing in / Account Creation
To get started, click the profile icon in the top right corner. If you are not signed in the site will prompt you to log in or create an account. Once you are signed into your account you can navigate to the "My Wish Lists" tab in the account dashboard, or under the profile dropdown.
Step 2.)
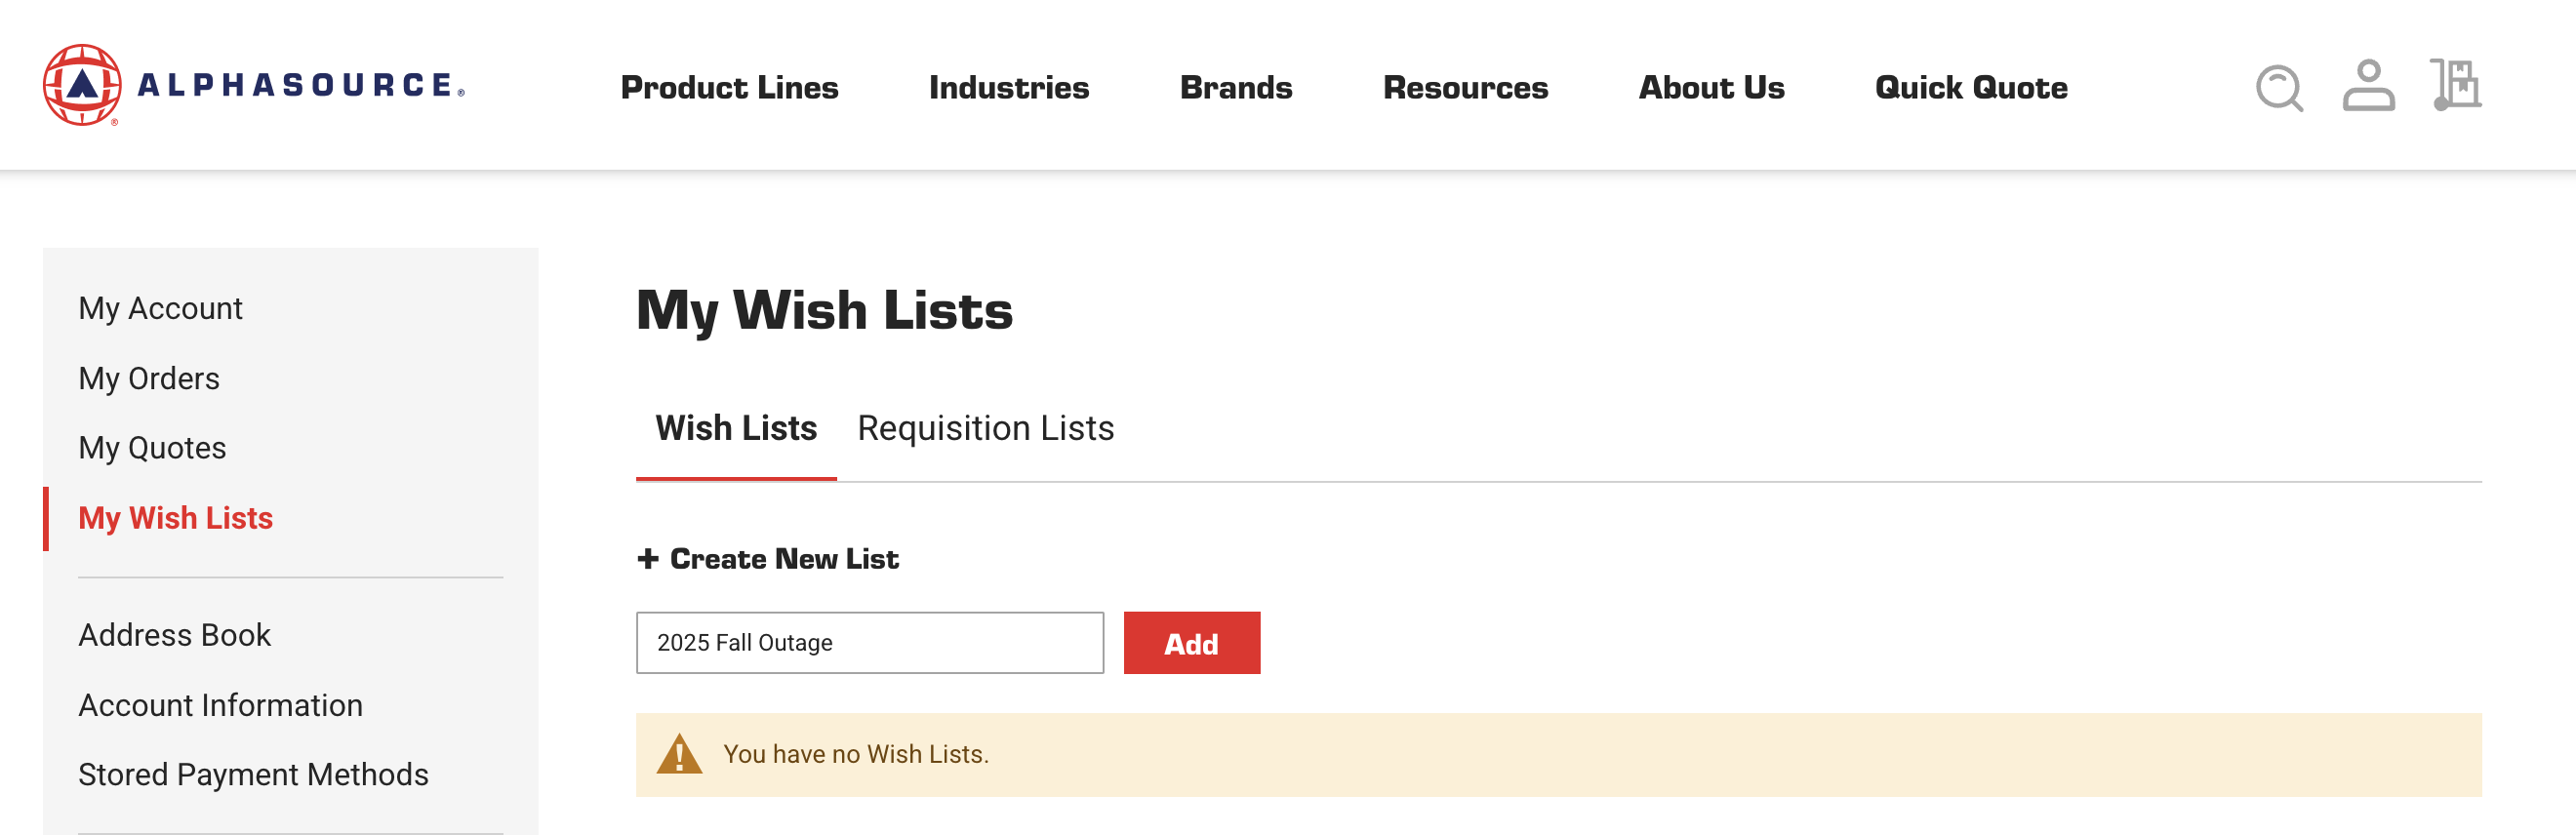
Wish List Creation
You're going to want to click on the "+ Create New List" Button and give a unique name to the list. Then click the "Add" button.
Step 3.)
Adding Products to Wish List
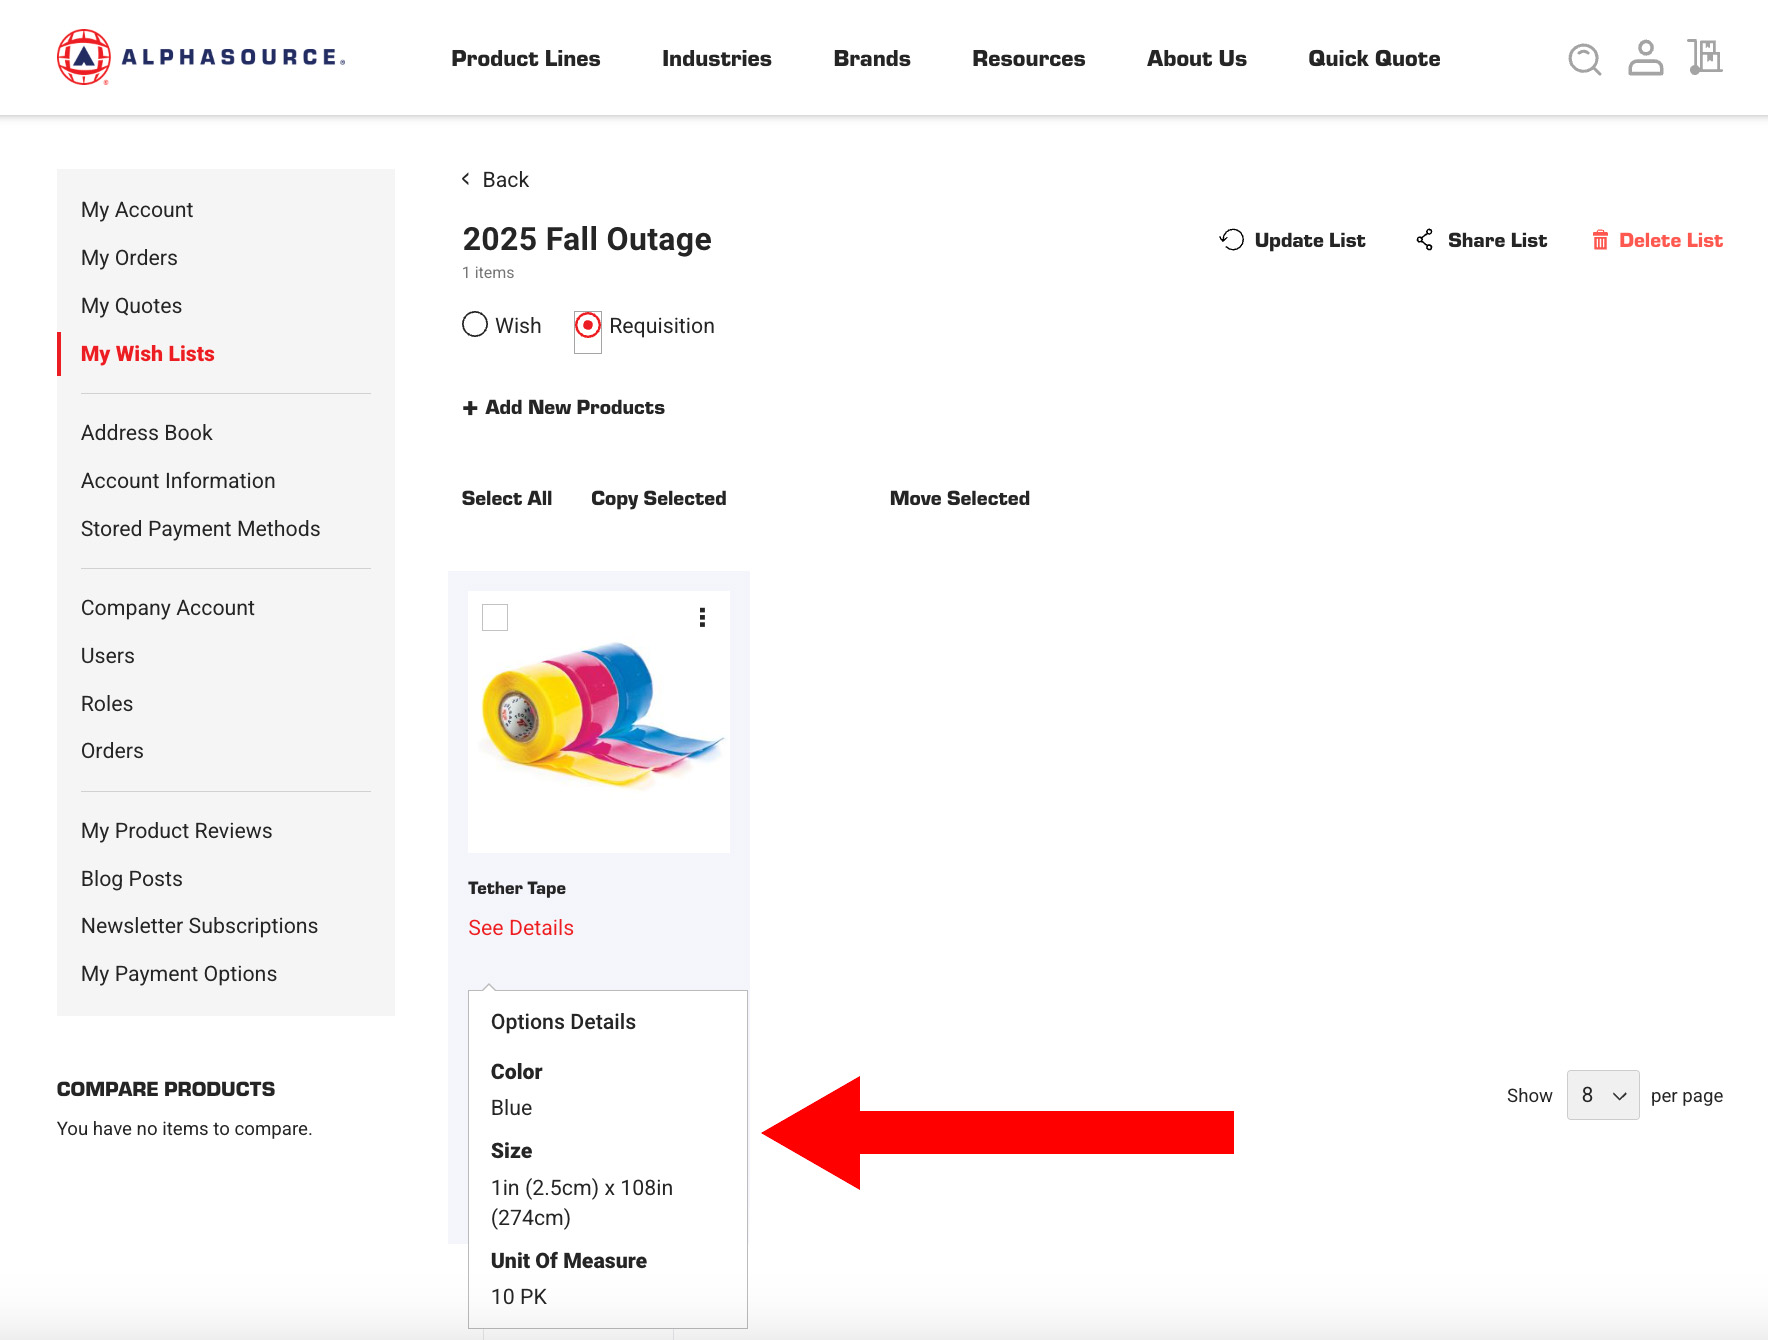
Now that the list is created, you can add products to it while you browse the site. We encourge you to fill out the product options on the right hand side before adding it to your wishlist. This will ensure that you save the exact product that you want to your wishlist, preventing confusion later on.
*You'll notice on the image below that any specifications made on product page will be reflected in your wishlist.
You'll notice on the image below that any specifications made on product page will be reflected in your wishlist.
Step 4.)
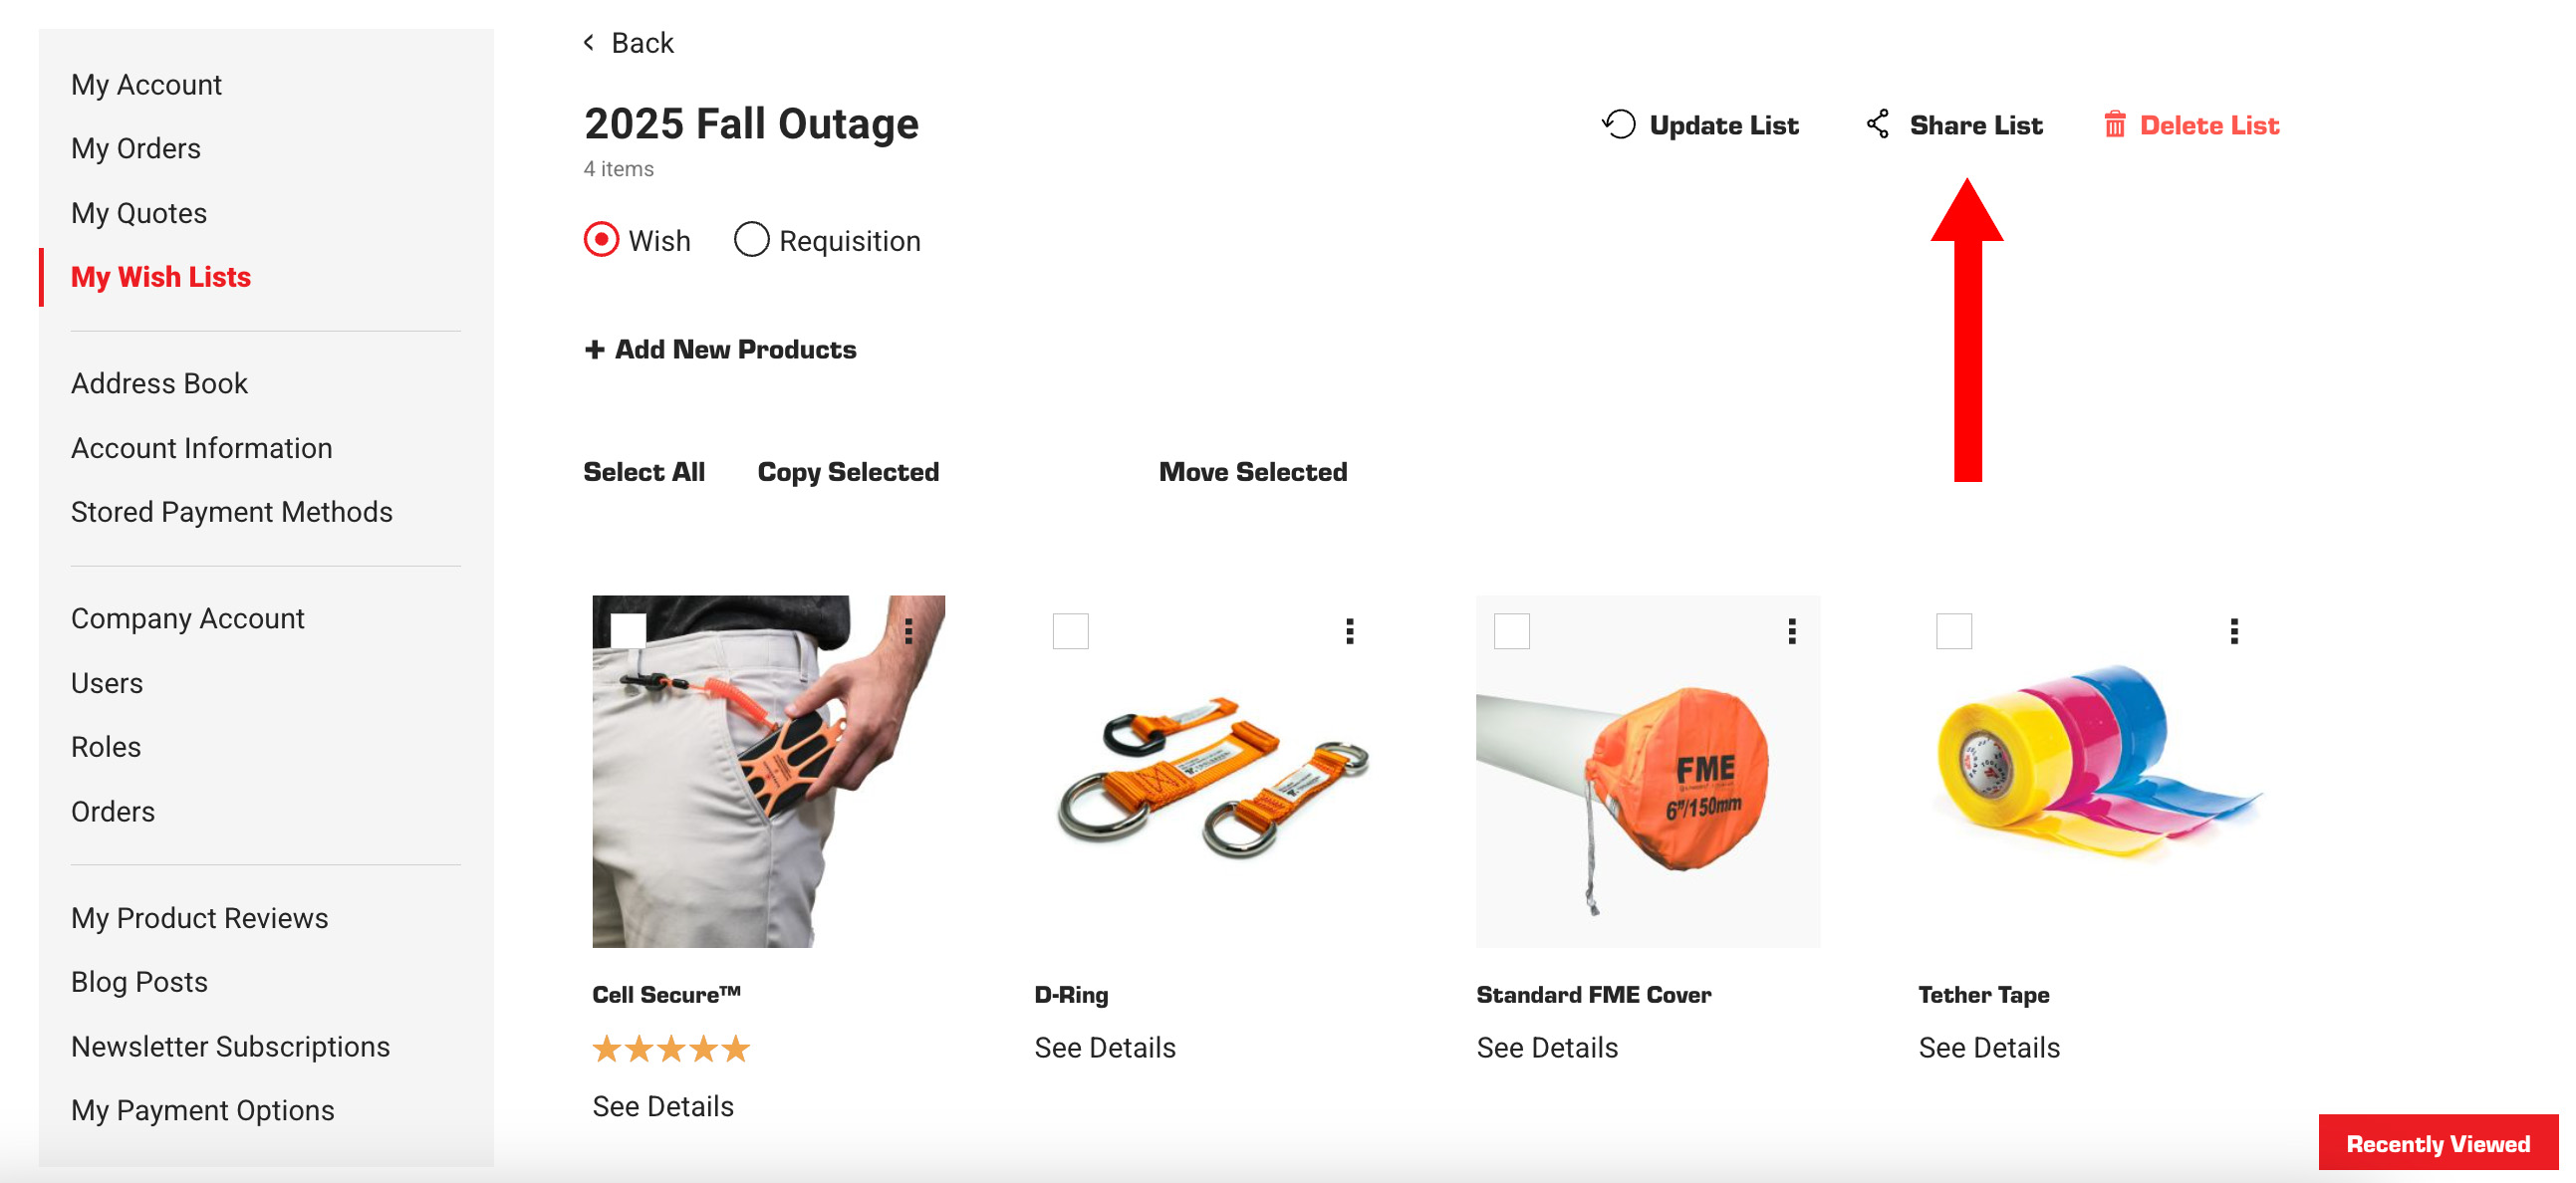
Sharing the Wish List
Once you've added the products you want, you can head back to the "My Wish Lists" Tab in your account dashboard. Click on the wish list you want to share. Click on the "Share List" button.
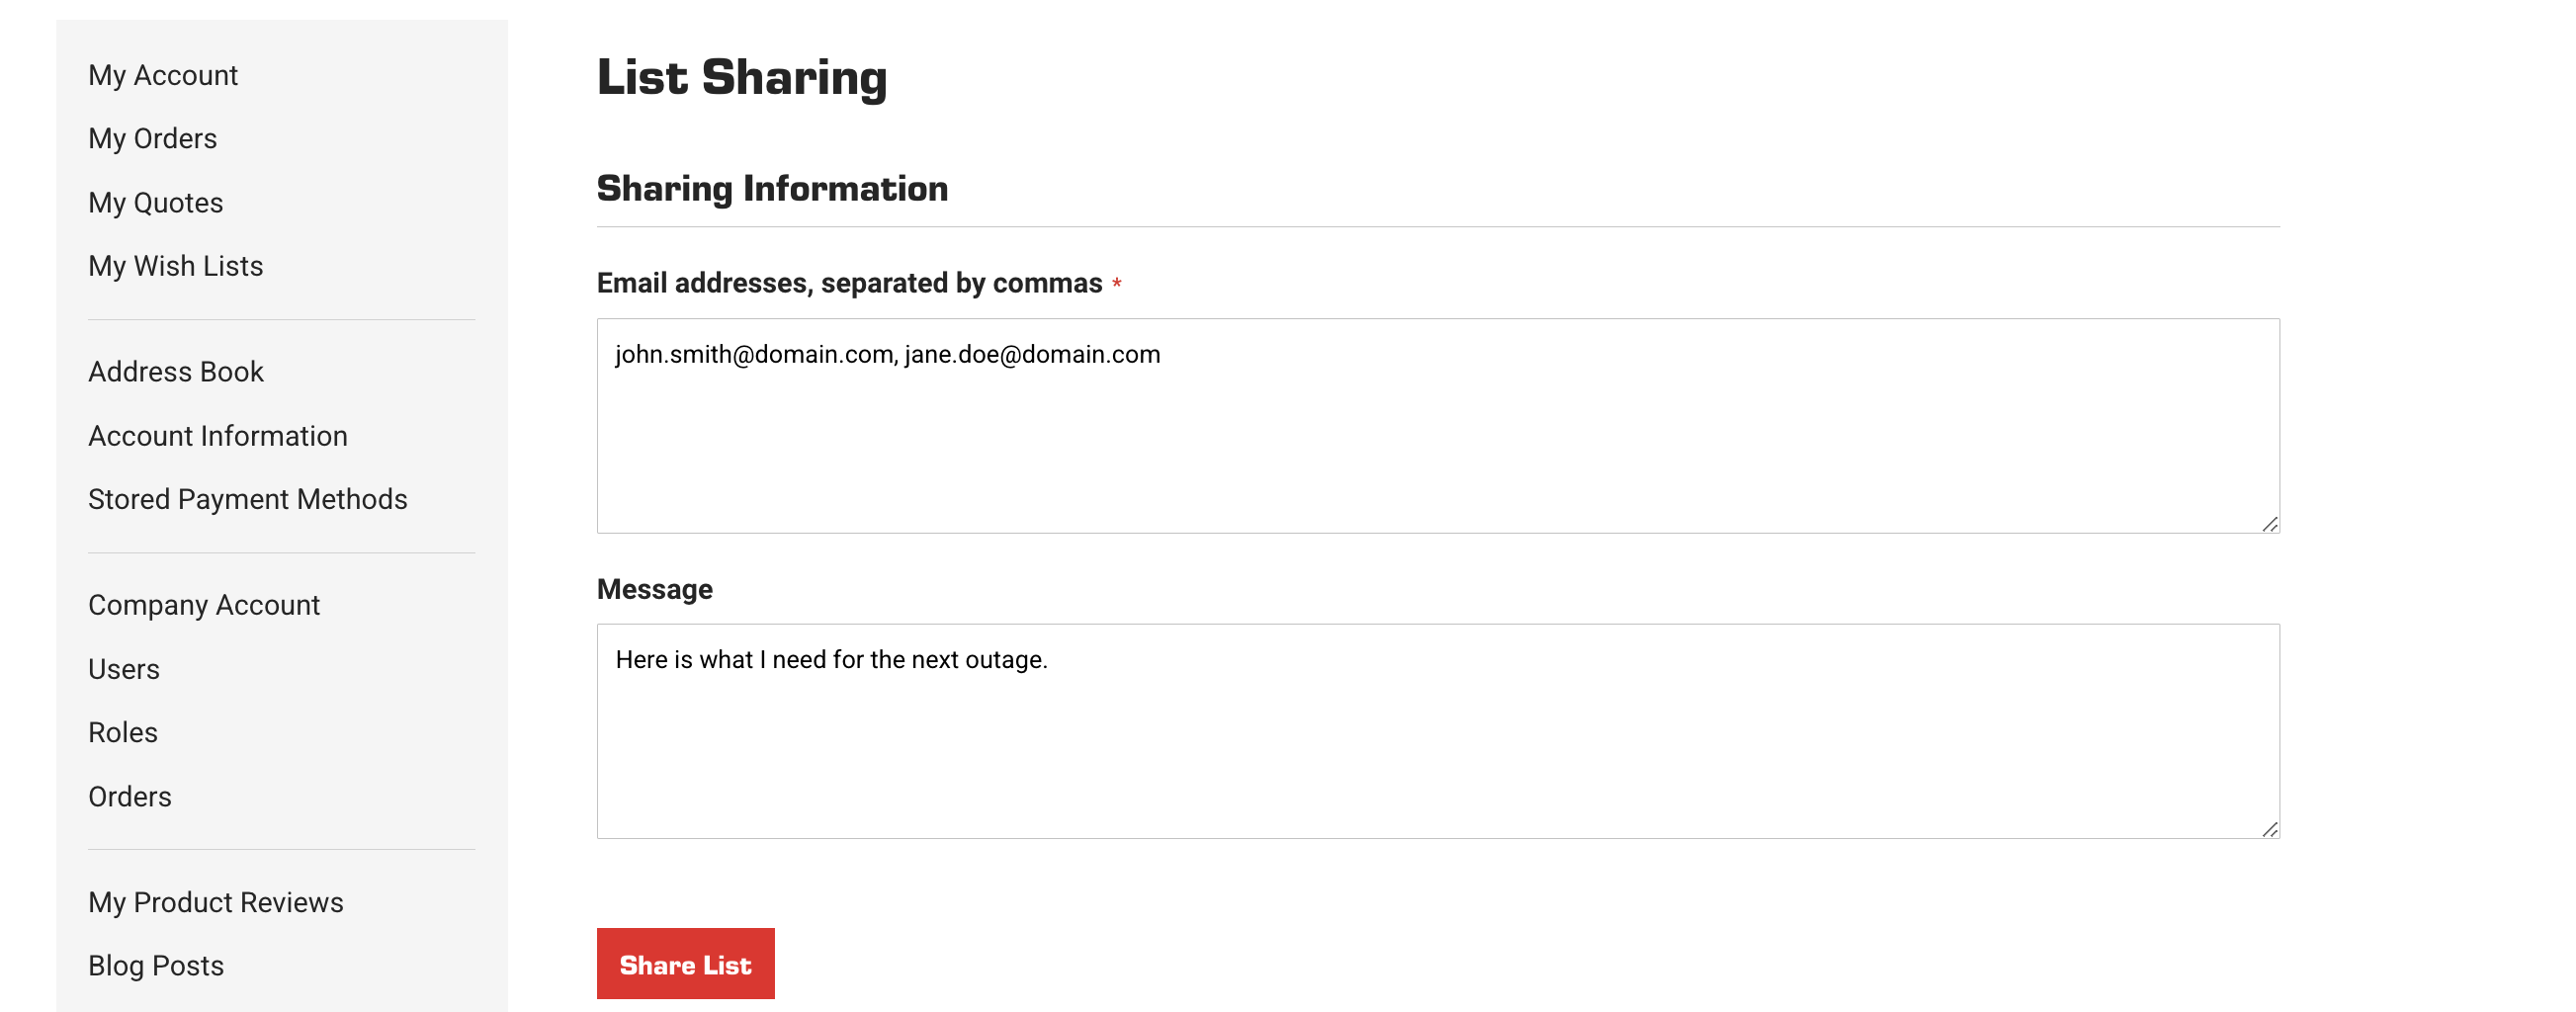
You will be prompted to add emails you want to share your wish list with and a place to add a custom message. Click the "Share List" button and the wish list will be emailed to the designated Email Addresses.
Filter